
Last updated November 4, 2026
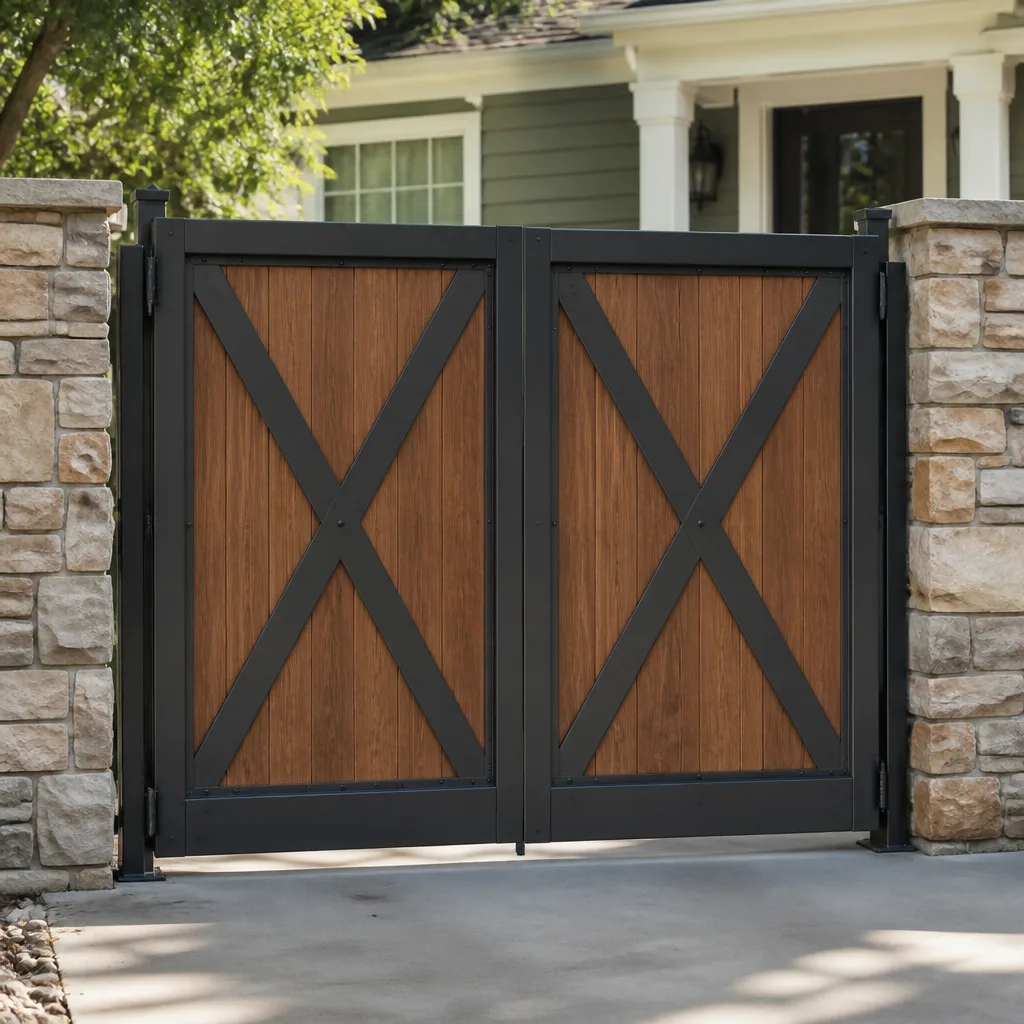 Wood & steel frame
 Wrought iron
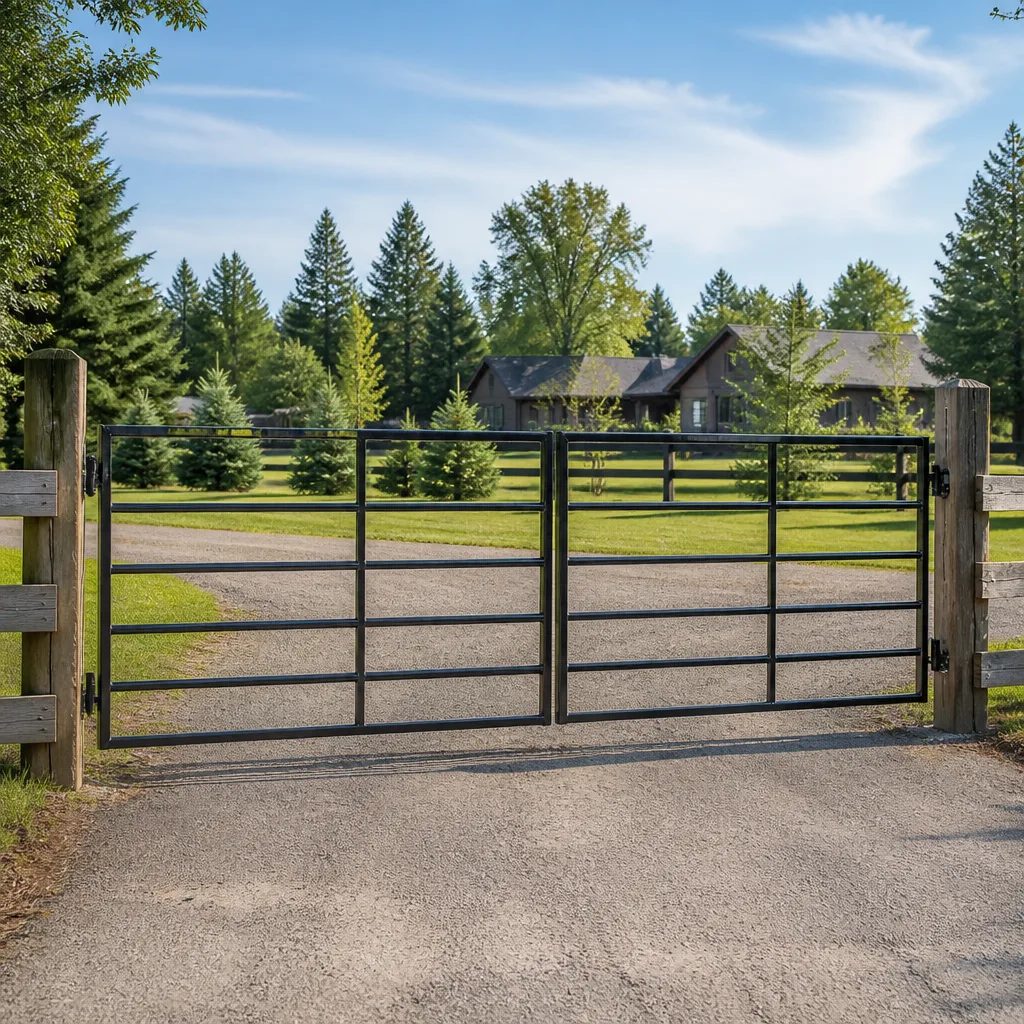 Farm & ranch
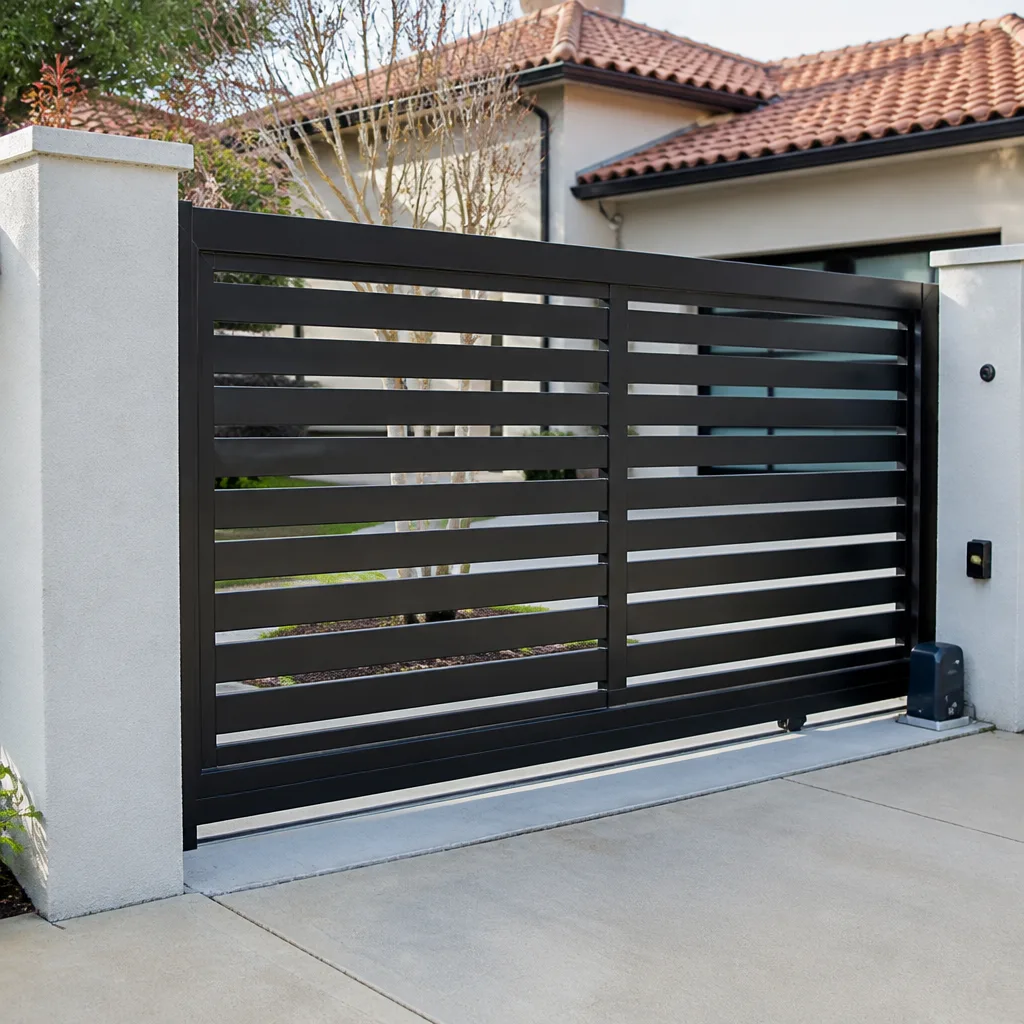 Sliding driveway gates
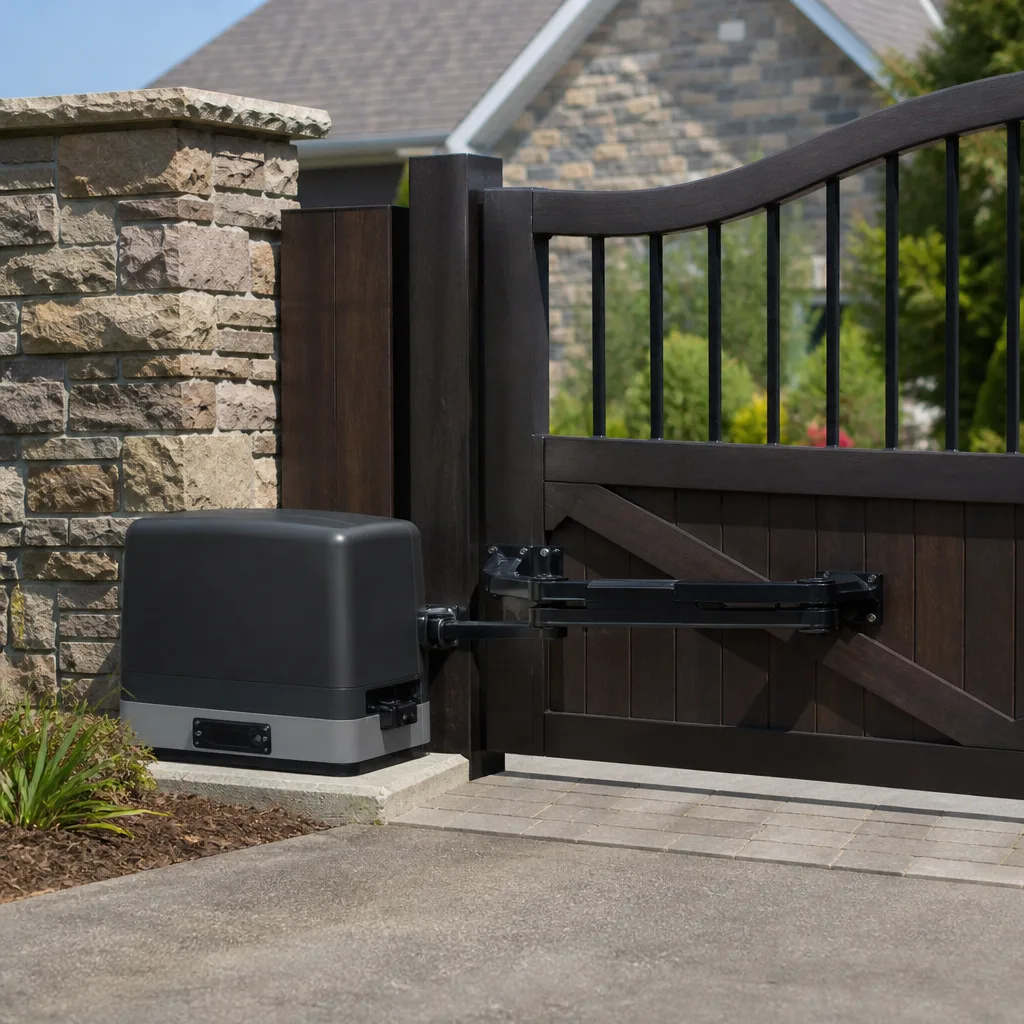 LiftMaster operators
Free on-site gate assessment - hinges, posts, and your LiftMaster or Nice gate operator checked before anything is quoted
The assessment is free and the quote is the invoice.
Get your free estimateGate Repair Maintenance Checklist for Lynwood Homeowners
Every national gate maintenance guide starts with the same assumption: that your gate wears out the same way a gate in Ohio or Oregon does. Lynwood proves that assumption wrong. We sit in a corridor where morning marine layer moisture rolls in and 95°F heat bakes the metal dry by mid-afternoon, sometimes in the same week. That cycle pulls moisture into hinge bushings, evaporates it, and leaves residue behind that grinds away at moving parts. This checklist is built for that specific reality, not a generic national average. You’ll learn which tasks matter most for Lynwood gates, which ones you can do with basic tools, and which ones to hand off before a small issue turns into a gate that won’t open at all.
Quick Answer
A Lynwood homeowner should check gate hinges, latch alignment, and operator safety functions monthly, lubricate pivot points quarterly with a synthetic dry-film lubricant rather than WD-40, and schedule a full torque check plus limit-switch test annually. The three maintenance tasks most homeowners skip until failure are battery backup testing, auto-reverse sensor alignment, and post-base inspection where clay-heavy soil shifts during wet winters.
Styles & brands we work with
- Wrought iron
- Wood & steel frame
- Farm & ranch
- Sliding driveway gates
- LiftMaster operators
Table of Contents
- Monthly Gate Checks That Take Under 10 Minutes
- Quarterly Lubrication and Hardware Inspection
- Annual Deep Maintenance: Torque Specs and Limit Switches
- Why Lynwood Soil Shifts Gate Posts and What to Watch For
- Battery Backup Maintenance for Electric Gates
- Testing Auto-Reverse and Safety Functions Without Specialized Equipment
- The Right and Wrong Lubricants for SoCal Gate Hardware
- Common Mistakes to Avoid
- When to Call a Professional
- Frequently Asked Questions
Monthly Gate Checks That Take Under 10 Minutes
Most gate failures do not announce themselves loudly. They start with a hinge that feels slightly stiffer, a latch that needs a fraction more force, a motor that hesitates for half a second before engaging. Those small signals show up during normal use, and you’ll catch them quickly if you make a habit of feeling for them rather than just watching the gate open and close. Here is the checklist we recommend for a monthly walk-through. It takes less than ten minutes once you know what you’re looking for.
- Open and close the gate by hand if it has a manual release. Listen for grinding, scraping, or a dry metallic squeak. Smooth movement means the hinges and pivot points are doing their job. Resistance means something is binding.
- Watch the gate as it travels. Does it wobble side to side? Does it slow down or speed up unevenly? A gate that sways at the midpoint often has a hinge problem or a shifting post. A jerky start and stop points to an operator issue.
- Check the gap between the gate and the latch post. When the gate is closed, the gap should be consistent top to bottom. A widening gap at the top means the gate is sagging. A gap that closes at the top and opens at the bottom means a post is leaning.
- Test the latch or lock mechanism. It should engage without force. If you have to lift, yank, or wiggle the gate to get the latch to catch, the alignment has drifted and the latch is wearing against the receiver.
- Look at the ground around each post. Cracks in concrete, a visible gap between the post base and the surrounding concrete, or soil pulling away from the post foundation all point to movement. Lynwood’s clay-heavy soil expands and contracts with rain, and this is where that movement shows up first. We cover this in more depth in the soil section below.
- Clear debris from the track if you have a slide gate. Leaves, dirt, and small stones collect in the track channel and get crushed under the gate wheels. Over time, that debris packs down and forces the gate upward just enough to knock the wheels out of alignment.
If any of these checks feels off, do not wait. Each month that a hinge or latch problem goes unaddressed means more wear on the other components that are compensating for it. If you notice something unusual and you’re in Lynwood, a quick gate repair visit can identify the issue before it cascades.
Quarterly Lubrication and Hardware Inspection
Lubrication is the single most effective preventive task you can do yourself, but only if you use the right product and put it in the right places. The wrong lubricant attracts dust, turns gummy, and traps the very grit it was supposed to flush out. In Lynwood, where dry Santa Ana winds kick up fine dust and the marine layer adds morning moisture, the wrong lubricant becomes a grinding paste within weeks.
What to Lubricate
- Hinge pins and pivot bearings. These are the highest-wear points on any swing gate. Apply lubricant directly to the pin where it enters the hinge body, then work the gate back and forth a few times to distribute it.
- Latch mechanism and lock cylinder. The internal pins and springs inside a latch wear against each other every time you open the gate. A dry latch feels stiff and eventually jams.
- Slide gate rollers and wheels. The bearings inside the wheels carry the full weight of the gate, and the track contact surface scrapes against them constantly. Lubricate the wheel bearings, not the track itself. A lubricated track turns into a skid pad and the gate slides instead of rolling, which wears the drive teeth unevenly.
- Operator drive shaft and chain (if exposed). Some operators use a chain between the motor and the gate carriage. The chain should have a light coating, not a heavy grease layer that flings off and collects dirt.
- Keypad and push-button hinge points on manual gate hardware. Anything that moves against another surface benefits from a thin film.
Hardware to Check While You’re at It
Every quarter, go around the gate with a wrench and check these specific fasteners. You are looking for anything loose, corroded, or showing movement.
- Hinge mounting bolts. These carry the gate’s entire weight. A loose hinge bolt changes the gate’s swing geometry and puts stress on the frame welds.
- Operator mounting brackets. The operator pushes and pulls with surprising force. Loose brackets let the motor shift under load, which wears the drive shaft and eventually strips gears.
- Latch strike plate screws. The strike plate takes the impact every time the gate closes. Loose screws let the plate move, and a moving plate chews up the latch bolt.
- Control box cover seal. The control board lives inside a metal or plastic box attached to the gate or a nearby post. The gasket around the lid keeps moisture and insects out. Lynwood’s morning marine layer means the inside of an unsealed box gets damp every single night.
If you find a stripped bolt, a cracked hinge, or a control box that shows signs of moisture intrusion, resist the urge to crank down harder on it. Stripped or cross-threaded hardware needs replacement, not more torque. Call a specialist rather than risking the fastener failing under load while the gate is in motion.
The Right and Wrong Lubricants for SoCal Gate Hardware
Every hardware store sells WD-40, and almost every homeowner reaches for it when a hinge squeaks. Here is the problem: WD-40 is a water-displacing penetrating oil, not a long-term lubricant. It is designed to break rust free and then evaporate, leaving almost no protective film behind. In a climate like Lynwood’s, where morning moisture and afternoon heat alternate, that means the hinge gets a temporary fix and then goes back to running dry, only now with whatever dust and grit the wet oil attracted before it evaporated. The grit stays behind. The hinge wears faster than if you had done nothing at all.
For gate hinges, pivot points, and latch mechanisms in coastal-adjacent Southern California, use a synthetic dry-film lubricant. These products go on wet, then cure into a solid lubricating layer that repels dust and withstands heat without melting off. Look for products labeled as dry-film, PTFE-based, or synthetic chain lube. They cost more than WD-40, but they last through a full Lynwood summer and a full rainy season.
For slide gate wheels and operator drive shafts, a white lithium grease works well because it clings to the metal and handles the heavier load. Keep the application light. A heavy grease blob on a wheel or track collects sand and leaves, and that debris works its way into the bearing seals. In our experience with slide gates around Lynwood, over-greasing causes more service calls than under-lubricating.
Annual Deep Maintenance: Torque Specs and Limit Switches
Once a year, set aside an hour to do the maintenance that requires a little more attention and a couple of basic tools. This is the maintenance that keeps a gate running for fifteen years instead of five. The following steps apply to both manual and automated gates, though the limit-switch checks apply specifically to electric operators.
Step 1: Torque Check on All Structural Fasteners
Over the course of a year, thermal expansion and contraction work on every bolted connection in your gate system. Steel expands when Lynwood’s summer heat hits it and contracts when the evening marine layer rolls in. That cycling loosens bolts that have not moved in years. Go around the gate with a socket set or a torque wrench and check these points:
- Hinge bolts: Most residential swing gate hinges use 1/2-inch or 5/8-inch hardware. The exact torque spec varies by manufacturer, but as a rule of thumb, a 1/2-inch grade 5 bolt should be snugged to around 50-60 foot-pounds and a 5/8-inch to 80-100 foot-pounds. If you do not have your gate’s spec sheet, snug them firmly without leaning on the wrench with all your weight.
- Gate frame bolts where the operator arm attaches: These see cycling load from the motor. Check them every year even if they feel tight because fatigue cracks start around these bolt holes first.
- Post anchor bolts or base plate bolts: If your gate posts are bolted to a concrete foundation rather than set in it, those bolts are what holds the entire gate upright. Pay attention to any that show rust staining, which indicates water sitting against the fastener.
Step 2: Limit Switch Function Test
Electric gate operators use limit switches to tell the motor when the gate has reached the fully open or fully closed position. The limit switch is a small physical or electronic stop that cuts power to the motor at the right moment. When these drift out of adjustment, the gate slams against the stop post, or stops before it fully latches. Both conditions shorten the life of the operator and the gate hardware.
To test limit switches without opening the control box or touching live wires:
- Open the gate using the normal remote or keypad.
- Watch what happens at the very end of the travel. The gate should decelerate smoothly and stop gently at the fully open position. If it slams into the mechanical stop, the limit switch is set too far. If it stops 6 inches short, the limit switch is set too early.
- Close the gate and repeat. The closed position is more critical because it determines whether the lock engages and whether the gate seals against the receiver post.
- If you have a slide gate, listen for the motor continuing to run for a moment after the gate stops moving. That means the limit switch is not tripping at all and the motor is stalling. This will burn out the motor over time and should be addressed immediately.
Step 3: Check All Wiring Connections
If you are comfortable working around low-voltage wiring and the operator has a clearly accessible battery backup or disconnect, check that all wire connections in the control box are tight. Loose connections create resistance, resistance creates heat, and heat kills control boards. Do this with the power disconnected at the breaker or battery terminal. If you are not comfortable opening the control box, make this a technician’s job rather than a DIY one. Electric gate repair work on controllers, wiring and boards should only be done by someone who understands low-voltage diagnostics.
Why Lynwood Soil Shifts Gate Posts and What to Watch For
Lynwood sits on clay-heavy soil that behaves predictably in ways the average national gate guide never accounts for. Clay absorbs water and expands. When the rainy season arrives, the soil around your gate posts swells and pushes against the concrete footing from the sides. When the rains stop and the hot, dry Santa Ana winds return, the clay shrinks and pulls away from the footing, leaving a gap around the concrete. That cycle of push and release, year after year, slowly works posts out of plumb. The gate starts to sag, the latch stops lining up, and the operator motor works harder against a misaligned load.
The earliest signs of post shift are subtle. Look for:
- A hairline crack in the concrete or paving around the post base. This crack often appears before the post visibly leans.
- Soil pulling away from the post footer during the dry months. A visible gap between the dirt and the concrete means the clay has shrunk away and the footer is sitting in a looser pocket than it was poured in.
- A change in the latch gap. The gap between the gate and the latch post should stay consistent. If it changes over a season, one or both posts are moving.
- Water pooling around the post base after rain. If water sits against the post instead of draining away, it speeds the expansion cycle and seeps into any microcracks in the concrete.
Once a post starts moving, it will not self-correct. The fix is usually to re-set the post in new concrete with proper drainage, and on a gate that has been moving for a while, the hinge hardware and possibly the gate frame itself will need adjustment to match the corrected geometry. Caught early, this is a straightforward repair. Ignored for a season or two, it becomes a full post reset and gate re-hang.
Battery Backup Maintenance for Electric Gates
Most electric gate installations in Lynwood include a battery backup system, either built into the operator or as a separate battery cabinet. The battery’s job is to keep the gate operating during a power outage. But here is what almost nobody knows: the battery does not wait for an outage to start degrading. It ages on a calendar, and it ages faster in heat. In a hot Lynwood summer, a battery that sits inside a metal control box in direct sun gets cooked down to the point where it tests fine on a charger but cannot actually move the gate under load.
Battery maintenance is the most skipped task on any gate maintenance checklist. Homeowners discover the battery is dead the first time a power outage hits and the gate will not open. Then you are either locked out of the property or locked in, depending on which side of the gate the outage caught you on.
Here is what battery backup maintenance actually involves:
- Test quarterly. Turn off the circuit breaker that feeds the operator, then try to open and close the gate using the normal remote or keypad. The gate should operate at normal speed, not labored or slow. If it struggles, the battery is close to done.
- Inspect the battery for swelling or corrosion. A healthy battery has flat sides and clean terminals. Any bulging, white crust, or liquid around the terminals means the battery has already failed and may leak.
- Check the battery’s date code. Most gate backup batteries are rated for three to five years in a climate like ours. Heat shortens that. If the battery is older than four years, assume it is a candidate for replacement even if it still tests okay.
- Keep the control box shaded if possible. A simple sun shield or some strategic plantings around the box reduce the internal temperature and can add a year or more to the battery’s life.
We work on operators from Mighty Mule and Ghost Controls up to DoorKing and Elite commercial systems, and the battery question comes up on call-outs for all of them. The most common situation: a homeowner has had a LiftMaster or DoorKing operator for five years, the battery has never been touched, and a hot summer afternoon kills grid power for two hours. The gate works until the opener tries to move it, and then the battery collapses under load and the gate stays shut. A quarterly test catches that before the outage happens.
Testing Auto-Reverse and Safety Functions Without Specialized Equipment
Electric gates are required to reverse if they encounter an obstruction while closing. The safety system built into your operator uses either a pressure-sensing circuit in the motor or a pair of photo-eye sensors near the gate opening. This system is a safety device, not a convenience feature. It has to work every single time, and it has to work with no warning. You can test it yourself without any special tools, and the test takes about five minutes.
- Start with the gate in the fully open position.
- Place a solid object in the gate’s closing path. A trash can or a piece of plywood works well. Do not use a person, a pet, or your hand. If the system fails, the gate should hit the object and reverse, but you do not want to find out with body parts in the path. A weighted object like a traffic cone or a full recycling bin is ideal.
- Close the gate using the normal remote or keypad.
- Watch what happens when the gate contacts the object. The gate should reverse within 1 to 2 seconds of contact. On a hydraulic operator, the reversal is almost instant. On a screw-drive or chain-drive machine, there may be a slight delay. If the gate continues pushing against the object for more than 2 seconds, the auto-reverse is not working and must be serviced.
- Test the photo eyes if your gate has them. While the gate is closing, wave your leg through the beam between the two sensors. The gate should stop and reverse immediately. If it does not, the sensors are either misaligned or dirty.
Auto-reverse failure is the single most important safety problem on any electric gate. A gate motor that does not reverse can seriously injure a person or animal caught in the closing path. Do not postpone this repair. If you test the safety reverse and the gate keeps closing or reverses too slowly, stop using the gate in automatic mode and call a specialist. We offer free estimates in Lynwood for exactly this kind of safety-critical issue.
See the difference
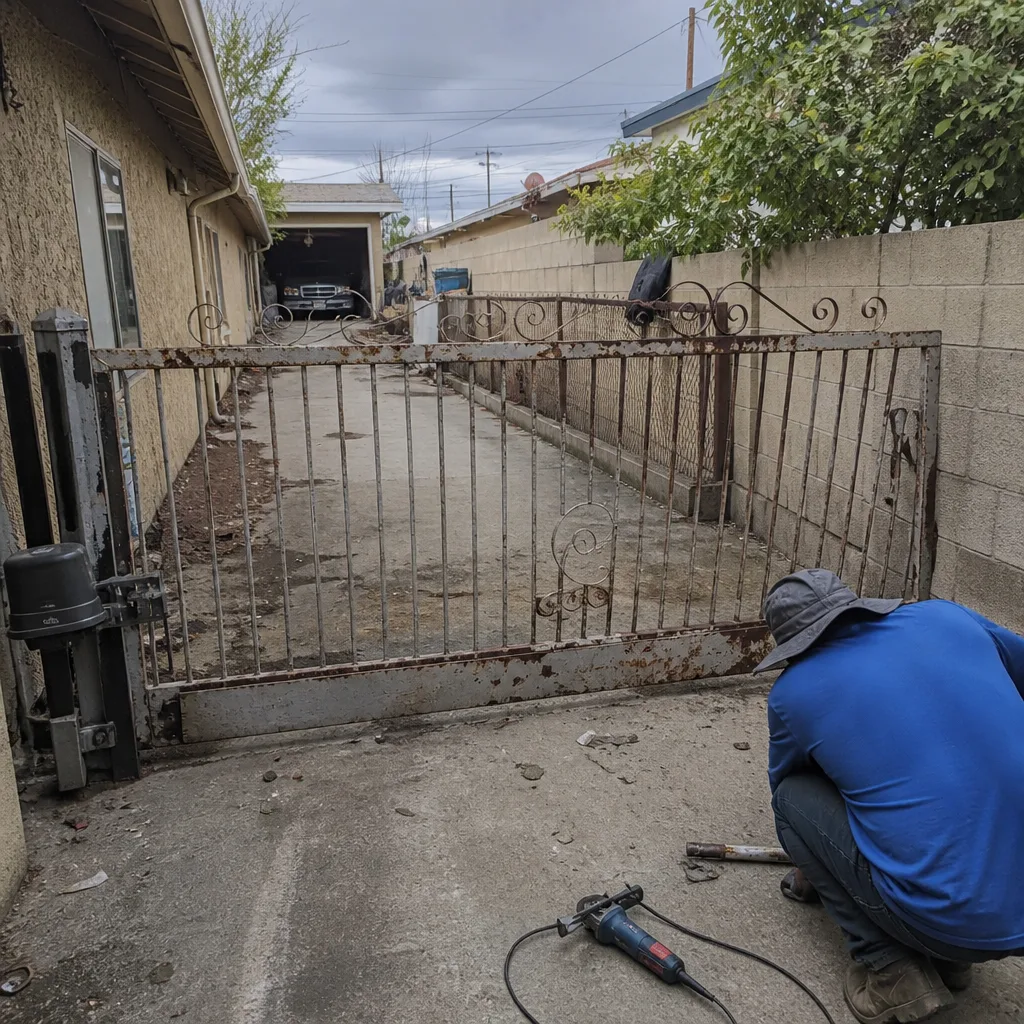 Before
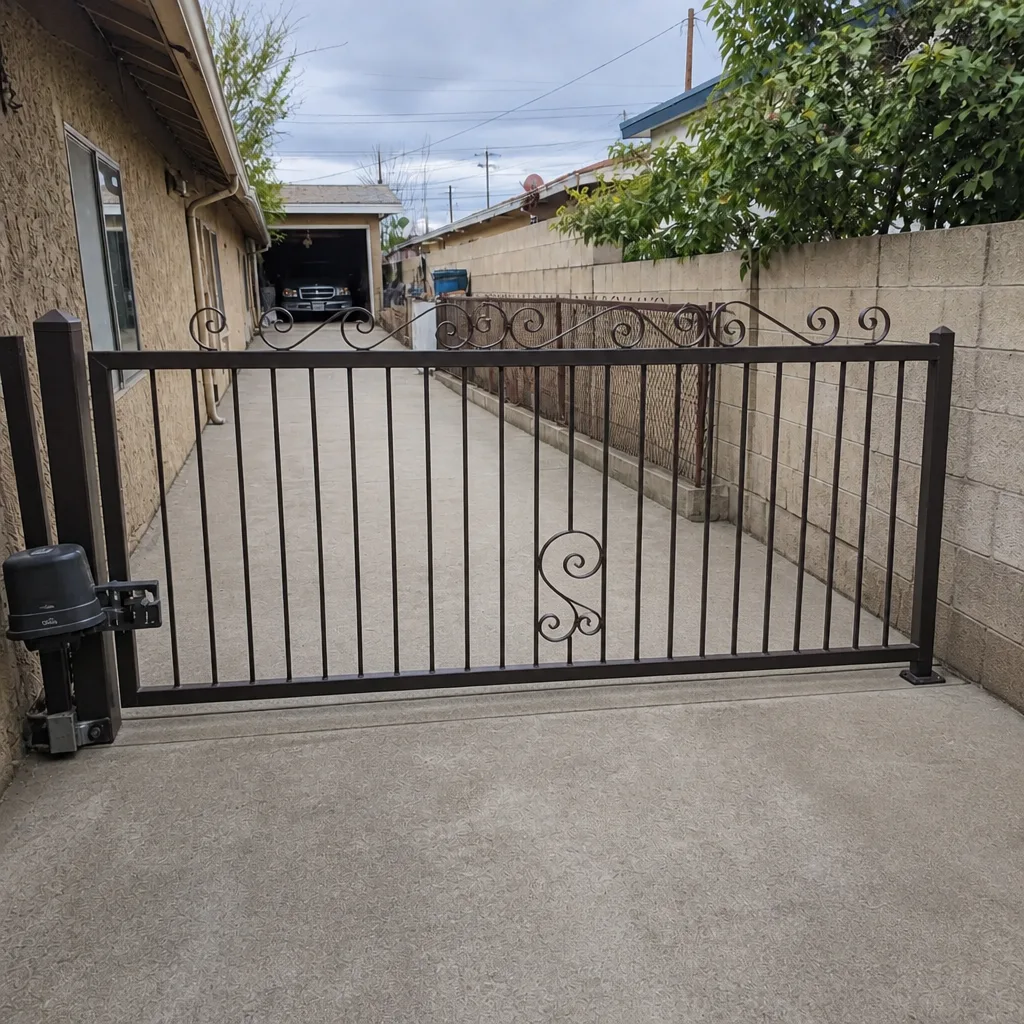 After
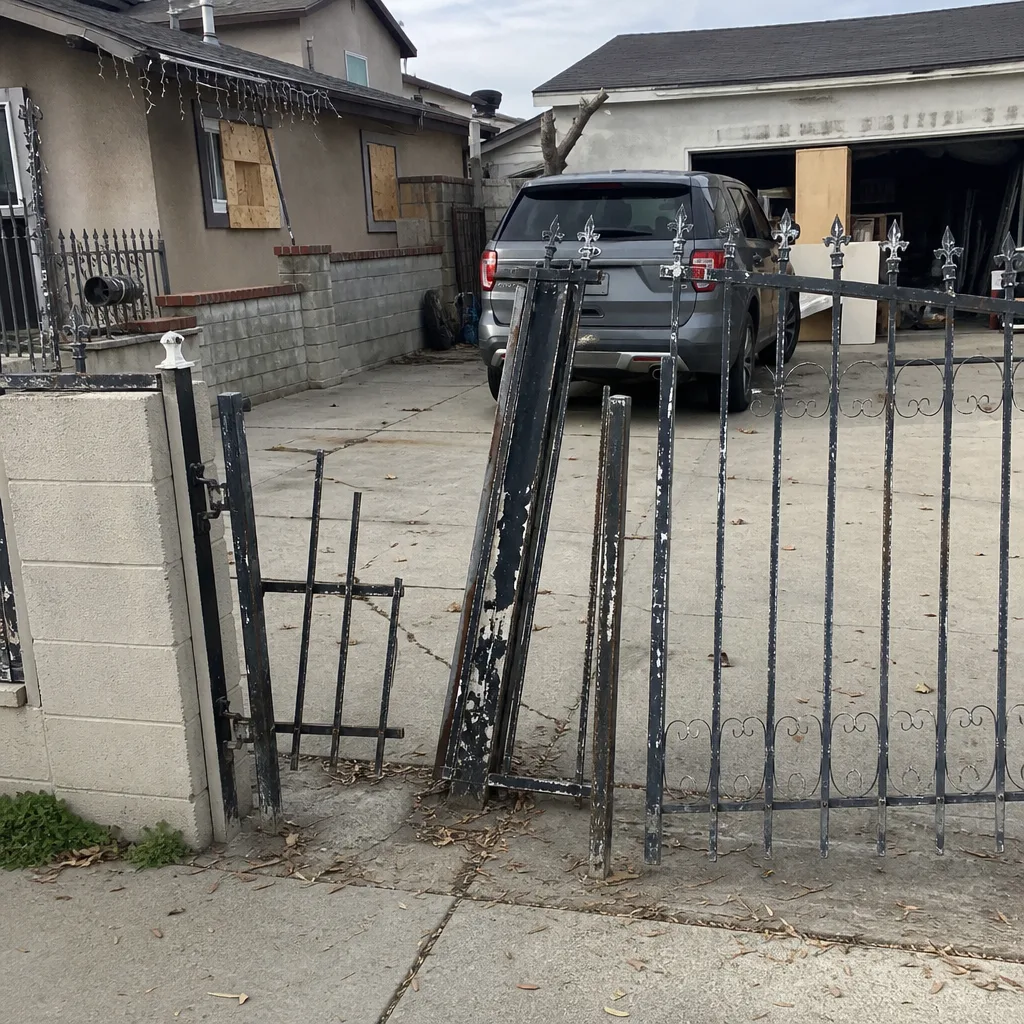 Before
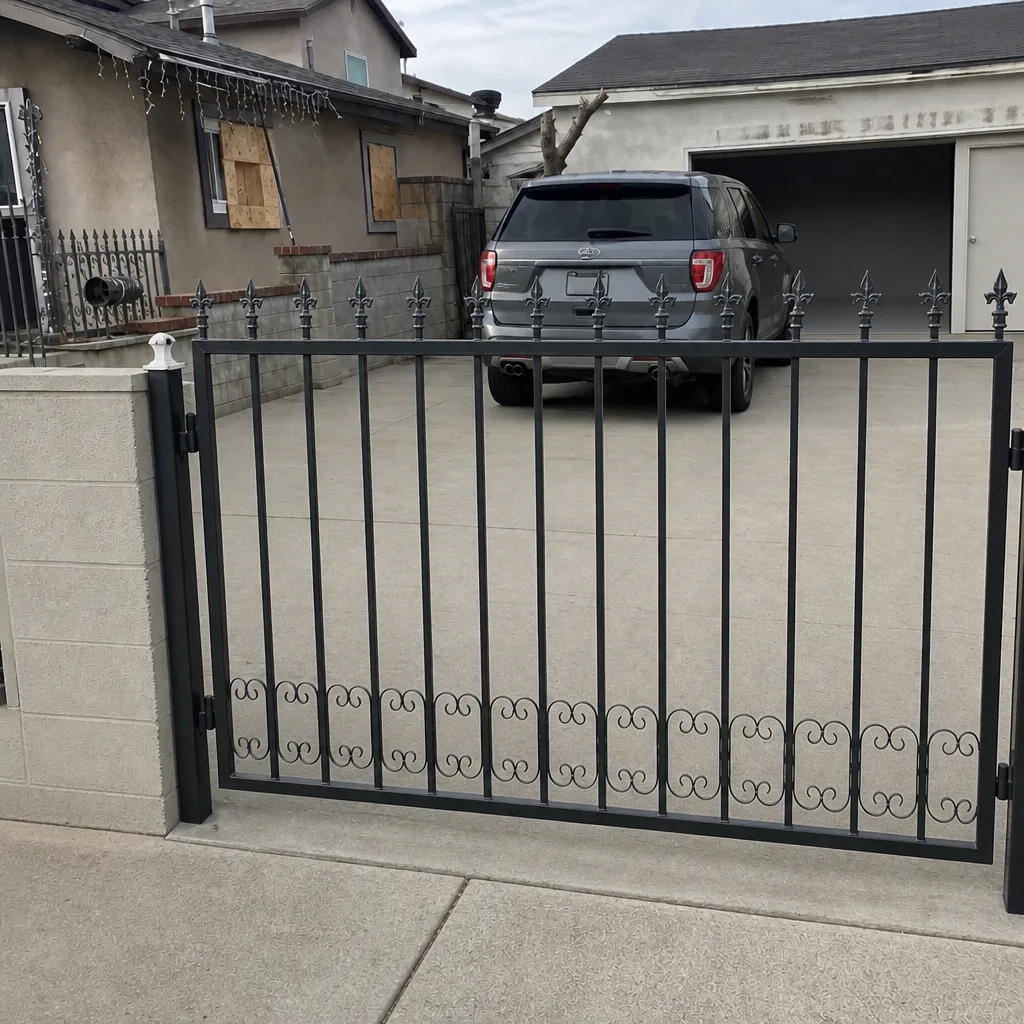 After
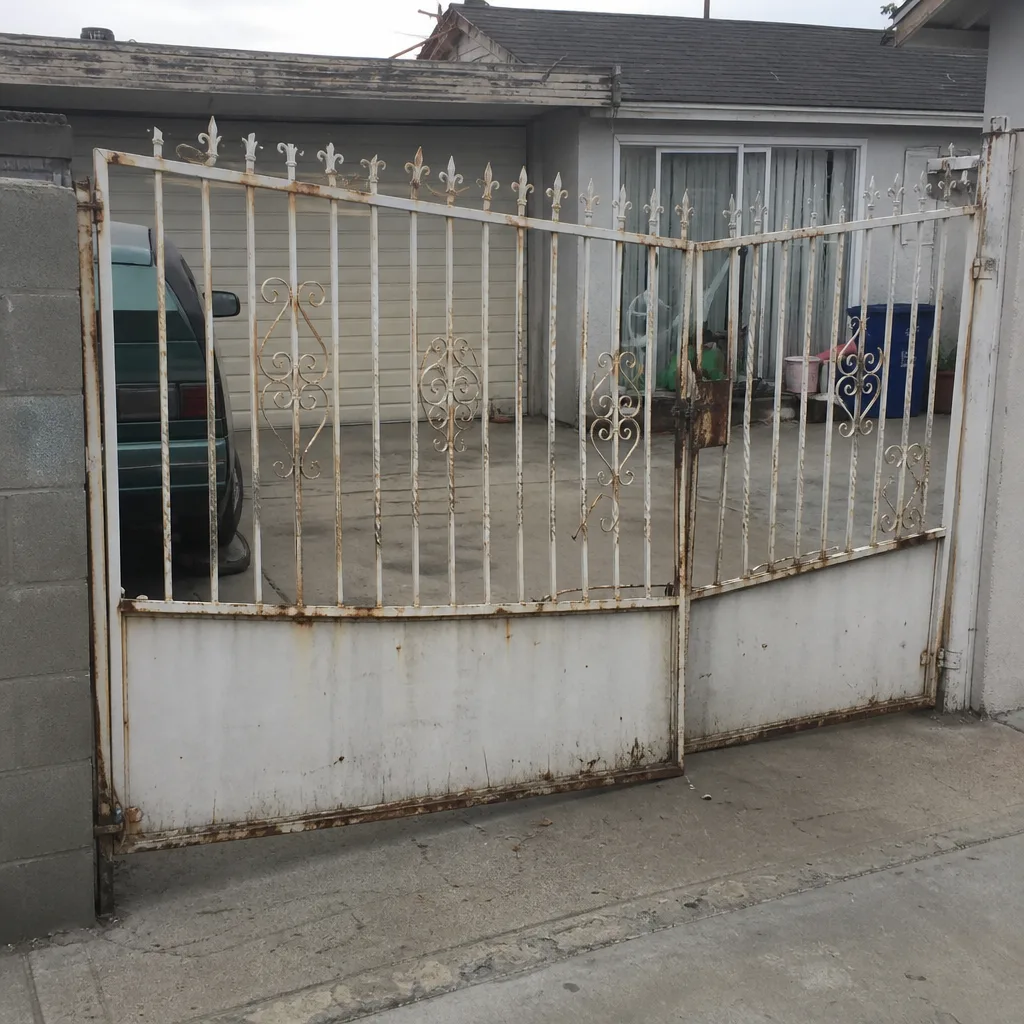 Before
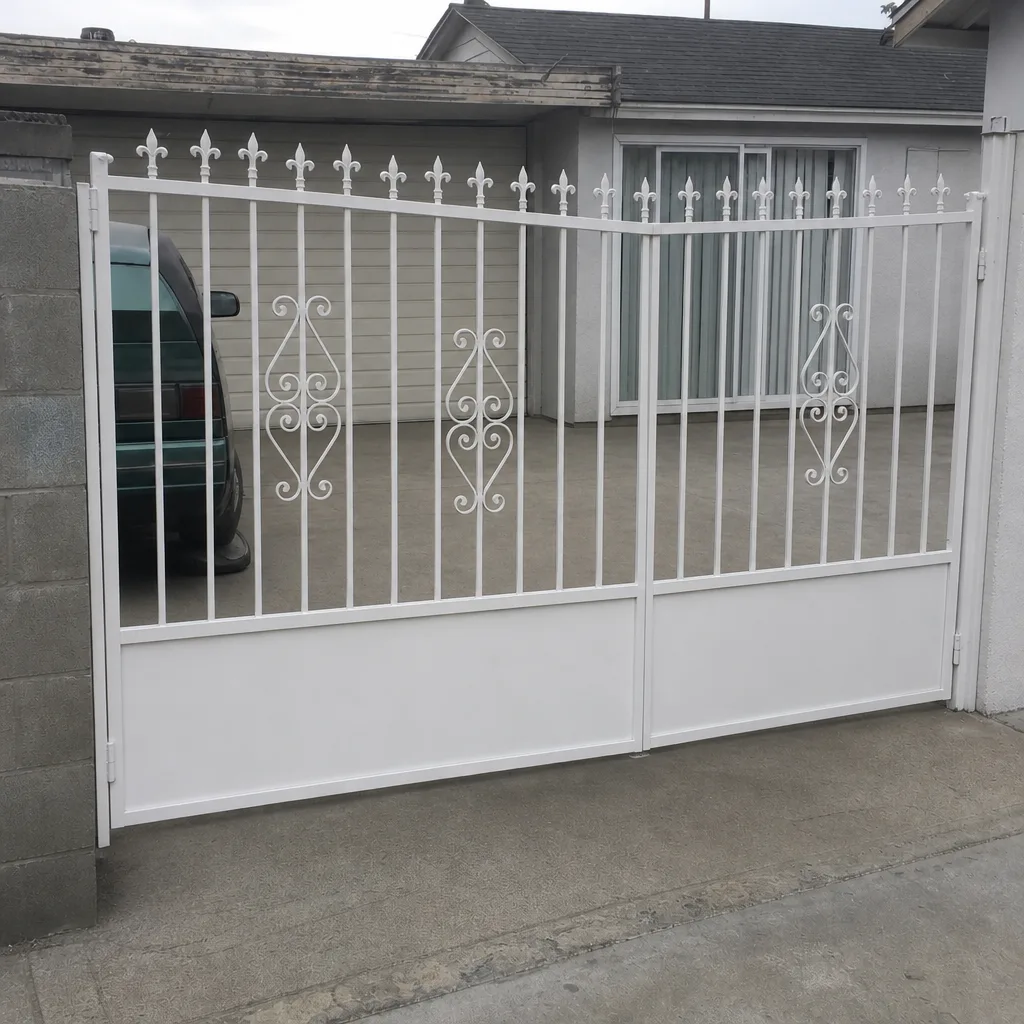 After
Seasonal Considerations for Lynwood Gates
Lynwood’s calendar divides into three maintenance-relevant seasons, and the checklist shifts slightly for each.
Rainy Season: November through March
This is when the clay soil does its expanding trick and posts start to move. It is also when water intrusion shows up in control boxes, keypads, and wiring conduits. Pay extra attention to the post-base signs described above, and run the gate through a full cycle after any heavy rain. Moisture in the control box often shows up as intermittent behavior first: the gate starts opening only half the time, or the keypad stops responding until things dry out. Address that before it becomes a hard failure.
Dry Season: April through October
Lynwood’s dry months bring heat and Santa Ana wind events. Heat kills batteries and cooks control boards inside unventilated boxes. Wind gusts push hard against broad gates, flexing the frame and stressing hinges and post anchors. After every Santa Ana event, take a quick look at the gate’s alignment and check that all bolts are still snug. This is also when dry dust gets thickest, so stay on top of cleaning slide gate tracks and keeping lubricant films fresh rather than caked.
Marine Layer Season: Year-Round but Heavy in Summer
The morning marine layer is a fixture in Lynwood, especially in June and July. It leaves a fine coat of moisture on metal surfaces every morning, which then evaporates as the sun burns through. Any exposed steel that has lost its protective coating will rust faster here than in a fully arid inland climate. Touch up paint or use a rust converter on any bare metal spots you find during your monthly checks. A bare hinge or bolt that goes through one full year of marine layer cycles will show serious corrosion, which then spreads under the coating and weakens the hardware.
Common Mistakes to Avoid
- Using WD-40 on hinges and expecting it to last. We covered this above, but it bears repeating because it is the most common mistake we see on gate repair calls. WD-40 is a short-term rust buster, not a lubricant for high-cycle gate hardware. Use a dry-film synthetic instead.
- Over-tightening bolts to “fix” a wobbly gate. If a gate wobbles, the cause is usually wear in a hinge pin or movement in a post, not loose hardware. Cranking down on bolts over-stresses the fasteners and the brackets they hold, which leads to stress fractures and sudden failure. Find the actual source of the wobble.
- Painting over rust without treating it first. Paint seals moisture in as easily as it seals moisture out. If rust is already present, remove it or convert it before you paint. A rust converter changes the iron oxide into a stable compound that can be painted over. Bare paint over active rust just hides the problem for one season.
- Ignoring the battery backup until the power goes out. Battery backups expire on a schedule, not on demand. A quarterly load test and a simple terminal inspection will tell you whether the battery will actually move the gate when you need it to.
- Lubricating a slide gate track. The track is not a lubrication point. It is a rolling surface. Grease on the track collects sand and turns it into a sanding belt for your gate wheels. Lubricate the wheel bearings only.
- Testing auto-reverse with a person in the path. This seems obvious, but people do it. Your hand or leg is not an appropriate test object. Use a trash can, a cone, or a piece of lumber. If the system fails, the gate should hit the object and reverse, not hit you and reverse.
- Putting off a post that is leaning. A leaning post changes the geometry of the entire gate system. The longer it leans, the more the hinge pins, latch, and operator wear against their misalignment. What could have been a post re-set becomes a gate re-hang plus an operator replacement. Check posts every single month.
When to Call a Professional
Some maintenance tasks are genuinely DIY. Cleaning a track, lubricating a hinge, and checking bolts are all within reach of most homeowners. But there are specific situations where professional help is the right call, not just because the work is difficult but because a bad outcome is dangerous or expensive.
Call a gate specialist if you find any of these: a post that is visibly moving or leaning, an operator that slams the gate against its stops, an auto-reverse function that fails the obstruction test, a control board that shows intermittent behavior after rain, a battery that will not move the gate under load, or a gate frame with cracks at the weld joints. These are not maintenance items. They are repair items, and each one touches on the safety, security, or structural integrity of the gate system. Gate Repair Lynwood offers free estimates in Lynwood and works on the full range of residential and commercial gate hardware. Call (855) 360-4375 to schedule an estimate. We answer 24/7. Fast dispatch from 7am to 7pm, Sunday through Friday. The price is set per job by the written estimate, quoted and agreed before any work starts.
Frequently Asked Questions
Quarterly lubrication is the right rhythm for Lynwood’s climate, where dry winds and marine layer moisture alternate. Apply a synthetic dry-film lubricant to hinge pins, pivot bearings, and the latch mechanism every three months. If you hear squeaking before the quarter is up, lubricate sooner.
A synthetic dry-film or PTFE-based lubricant works best for gate hinges in coastal-adjacent areas like Lynwood. It stays put in heat, repels dust, and does not attract the grit that WD-40 picks up. For slide gate wheel bearings, use a light white lithium grease and keep the track itself clean and dry.
Place a solid object like a trash can in the gate’s closing path, then close the gate using the normal remote or keypad. The gate should reverse within 1 to 2 seconds of contacting the object. If it keeps pushing against the object, call a specialist before using the gate in automatic mode again.
Yes. Test it quarterly by disconnecting the operator’s power and running a full open-close cycle on battery alone. Check the battery terminals for corrosion and check the date code for age. In Lynwood’s summer heat, most gate backup batteries need replacement every three to five years.
Lynwood’s clay-heavy soil expands when it gets wet and shrinks when it dries. That cycle can shift a post slightly, and even a small shift causes the gate to sag and the latch to misalign. Check for hairline cracks around the post base and a gap that opens between the soil and the concrete footer.
A professional maintenance visit includes a torque check on all structural fasteners, a limit switch test, an auto-reverse safety test, a battery backup load test, lubrication of all pivot points, and a post-alignment inspection. It is a one-time visit priced per job after we look at the gate. Call (855) 360-4375 for a free estimate.
The Bottom Line
Five minutes a month and a deeper hour once a quarter will keep most Lynwood gates running for well over a decade. The tasks that matter most in this specific climate are the ones national guides skip: testing the battery backup before you need it, checking posts after the rainy season’s clay expansion, using the right dry-film lubricant instead of WD-40, and testing the auto-reverse every few months. If any of those checks reveals a problem, do not let it wait. A hinge that feels wrong today becomes a gate that won’t open tomorrow. Professional help is one phone call away.
Contact Us
If your gate is showing any of the signs described in this guide, or if you simply want a professional to run through the full checklist with you, call (855) 360-4375. We answer 24/7. Fast dispatch from 7am to 7pm, Sunday through Friday. Estimates are free, and the price is set per job by the written estimate before any work begins.
Written by the team at Gate Repair Lynwood, serving Lynwood since 2011.