
Last updated November 4, 2026
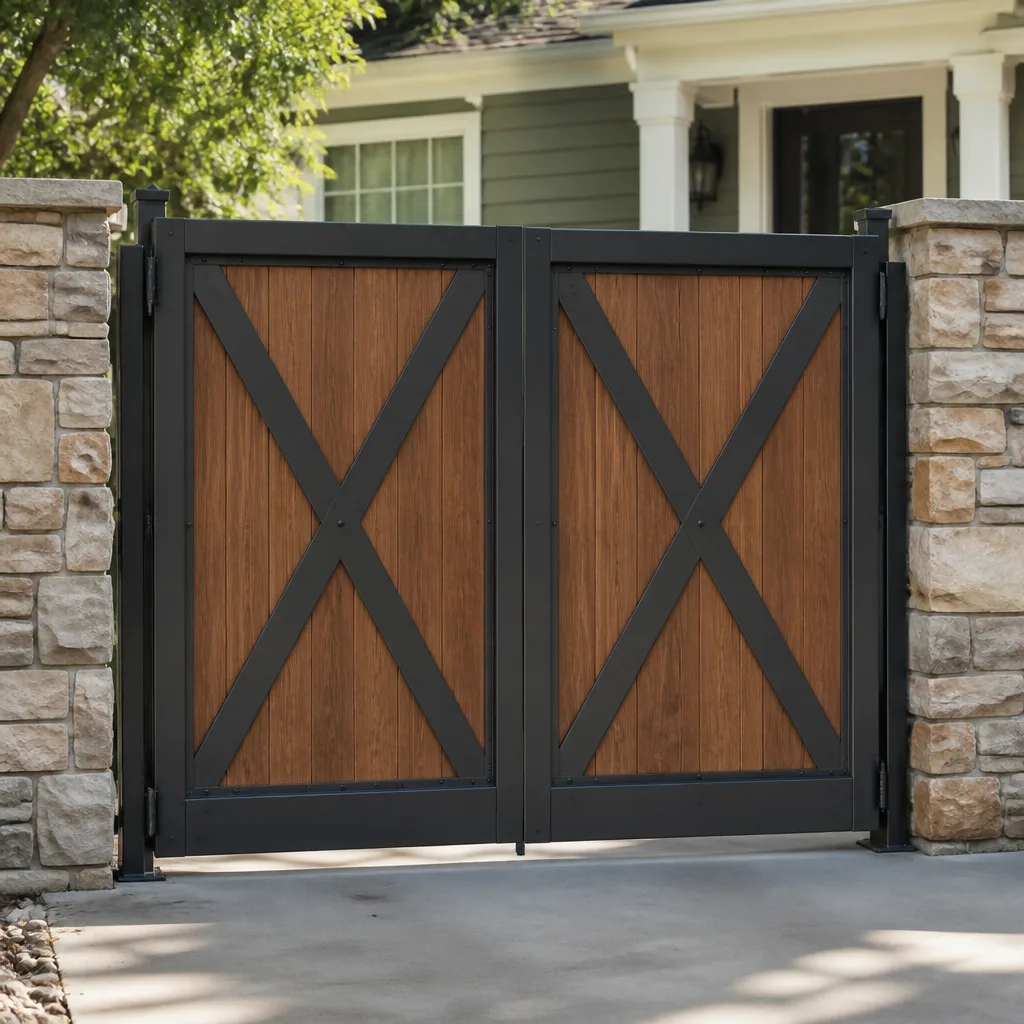 Wood & steel frame
 Wrought iron
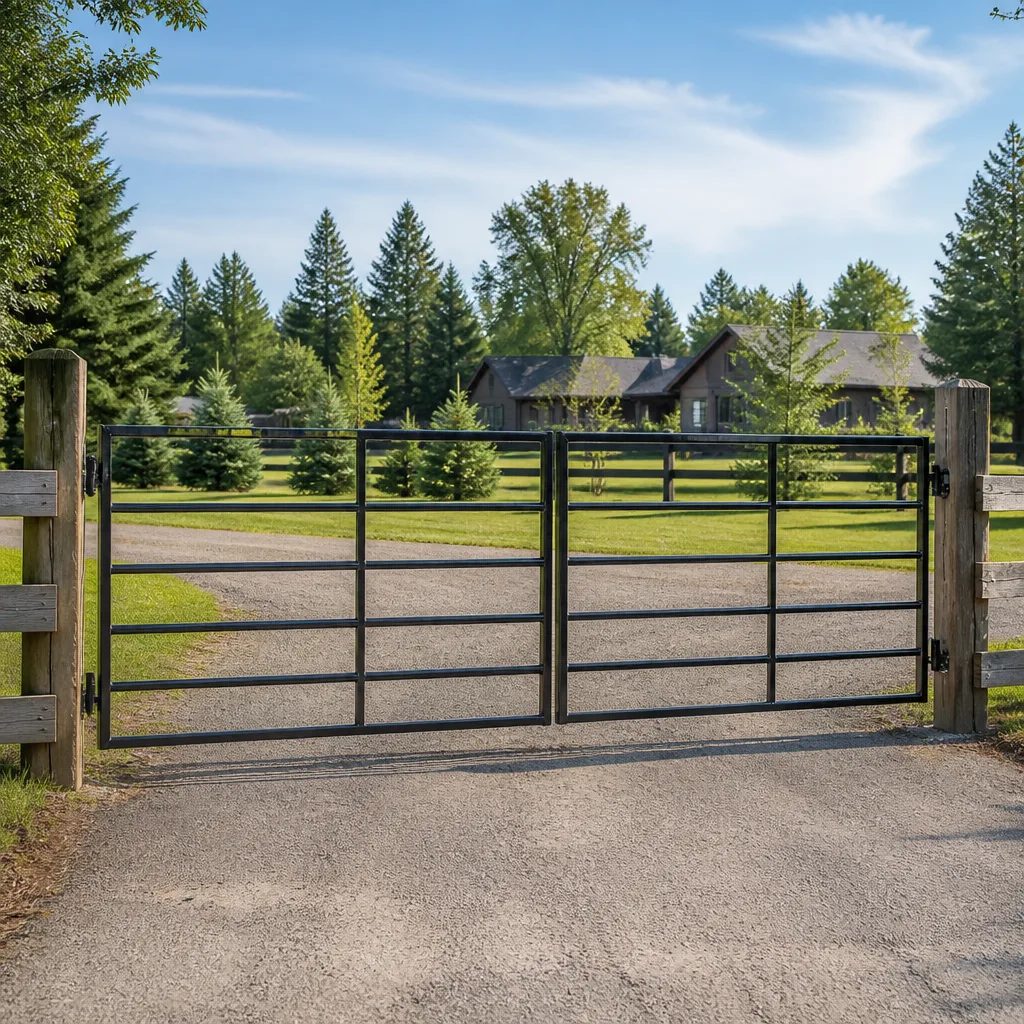 Farm & ranch
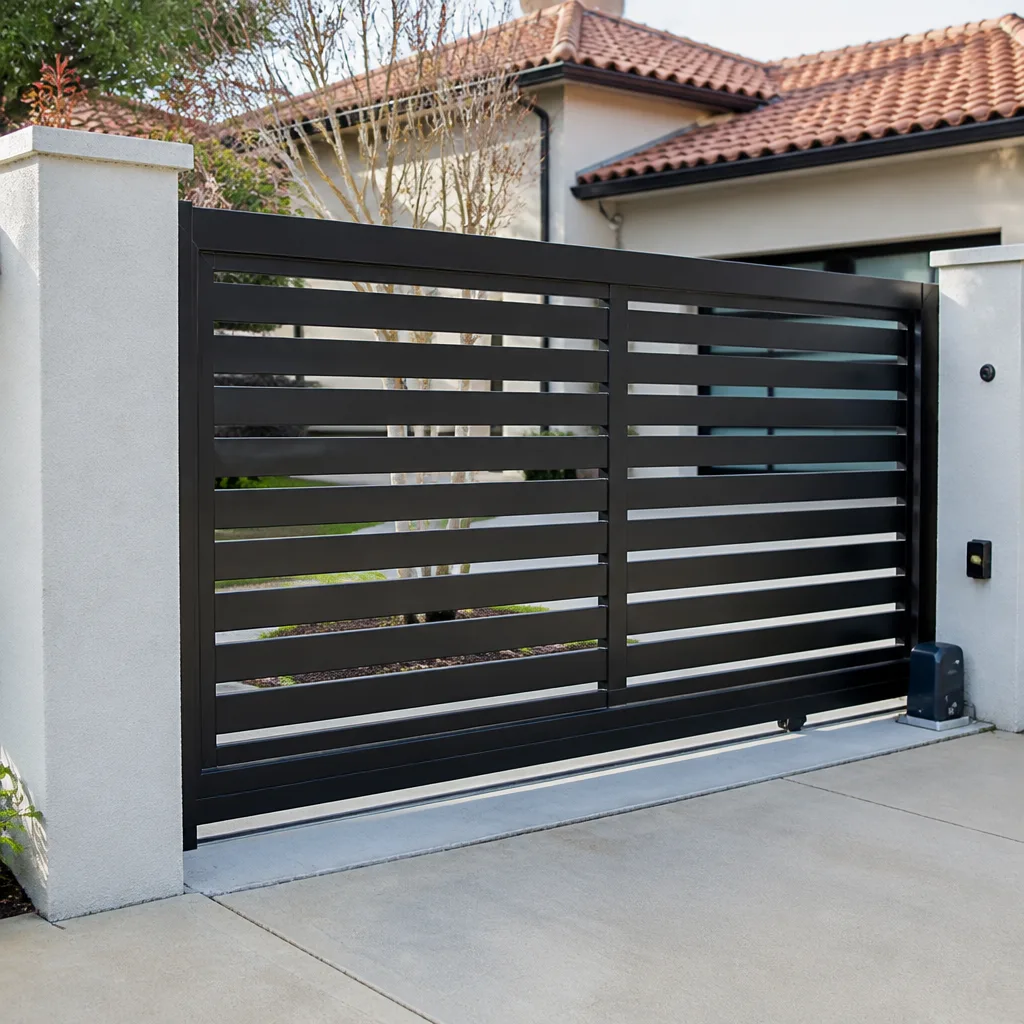 Sliding driveway gates
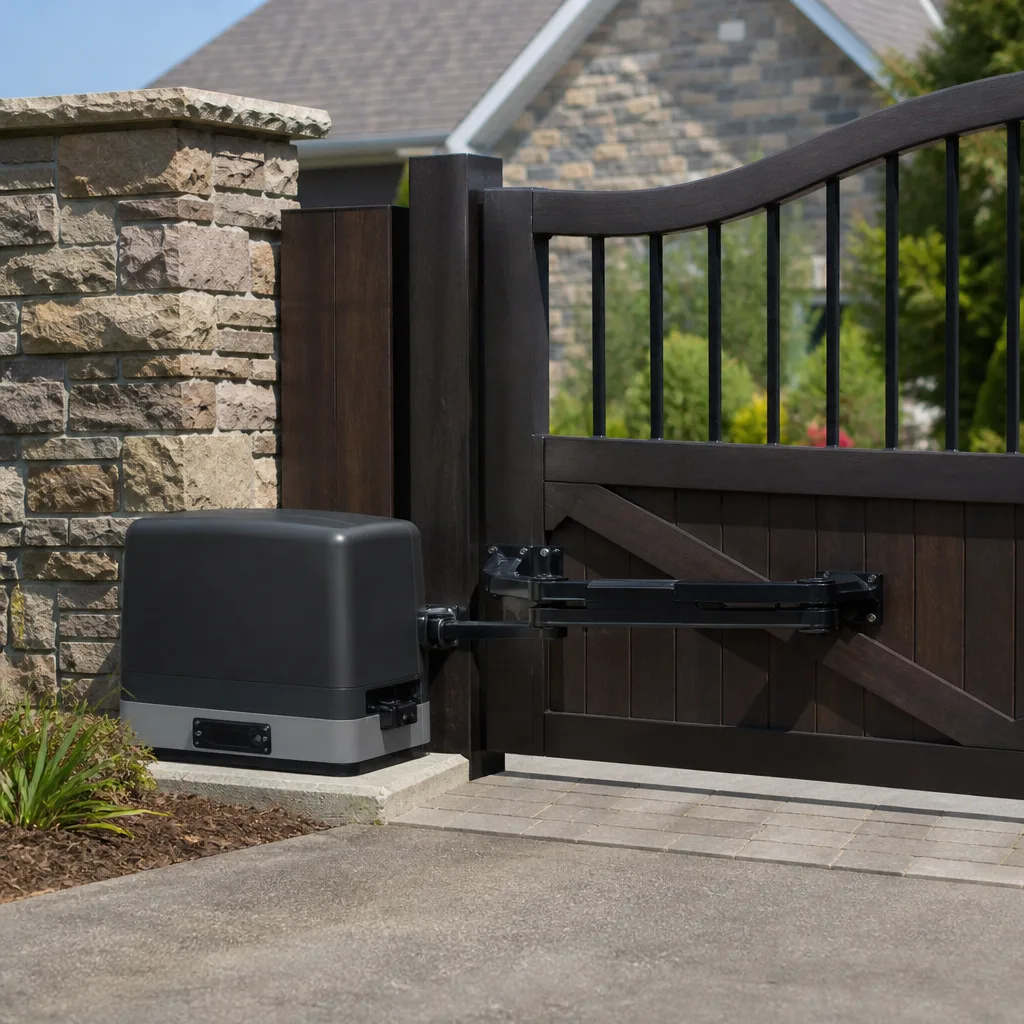 LiftMaster operators
Free on-site gate assessment - hinges, posts, and your LiftMaster or Nice gate operator checked before anything is quoted
The assessment is free and the quote is the invoice.
Get your free estimateDIY vs Professional Gate Repair: The Lynwood Homeowner’s Decision Guide
Here’s the thing most guides won’t tell you: a loose hinge bolt and a failing gate operator are not points on the same risk spectrum. They’re entirely different categories of work, and pretending otherwise is how homeowners end up with a 400-pound gate panel on their truck hood or a control board fried by a well-intentioned wiring attempt. A sliding gate under tension, an electric motor wired into your panel, a photo eye that’s stopped talking to the control board: these have real consequences when the fix goes sideways. What doesn’t help is that most advice out there treats gate repair as one big intimidating blob. Some say call a pro for everything. Others make it sound like a YouTube video and a socket set will solve any problem. The truth is messier and more useful: the line between DIY and professional isn’t about whether you’re handy. It’s about which components can hurt you, which ones can burn down your garage, and which ones just need a wrench and fifteen minutes. This guide maps that line specifically for homeowners in Lynwood, where detached driveways, electric gates, and tight property layouts shape what’s worth attempting and what isn’t.
Styles & brands we work with
- Wrought iron
- Wood & steel frame
- Farm & ranch
- Sliding driveway gates
- LiftMaster operators
Quick Answer
DIY gate repair in Lynwood makes sense for mechanical adjustments you can see and measure: tightening loose bolts, lubricating hinges, realigning a sagging gate leaf, replacing a worn wheel or roller. It stops making sense the moment electricity is involved, when a gate leaf is heavy enough to crush a person, or when the repair requires disassembling a spring-loaded or counterweighted mechanism. Electric gate repair, any wiring from the panel to the operator to the sensors, and any spring or tension system should go to a technician who does this every day. For roughly half of typical gate issues, a careful homeowner can handle the Monday-morning fix; for the other half, the cost of getting it wrong is hospital-level or house-fire-level, and that’s not a gamble worth taking.
Table of Contents
- The DIY Eligibility Chart: What’s Safe, What’s Not, What’s Borderline
- Why Electric Gate Wiring in California Is Never a DIY Project
- Three DIY Repairs That Usually Make Things Worse
- The True Cost of DIY vs. Professional for Five Common Repairs
- DIY Maintenance That Actually Reduces Professional Repair Frequency
- How to Approach a DIY Gate Repair Without Making It Worse
- Common Mistakes to Avoid
- When to Call a Professional
- Frequently Asked Questions
- The Bottom Line
The DIY Eligibility Chart: What’s Safe, What’s Not, What’s Borderline
The core question for a Lynwood homeowner isn’t “am I handy enough?” It’s “what happens if this goes wrong?” A gate has three basic systems: the mechanical frame and hinges, the wheels or rollers that carry the weight, and for automated gates, the electrical drive system. Each system has its own risk profile, and each deserves a different answer.
Safe DIY: The Green Zone
- Tightening loose hinge bolts and bracket hardware. A wrench, a socket, maybe a helper to hold the gate steady. No stored energy, no risk beyond a pinched finger if you’re careless. If the bolt is stripped, that’s a different story.
- Lubricating hinges, wheels, and track surfaces. A silicone-based or lithium grease on the pivot points keeps a manual gate swinging and a slide gate rolling. This is routine maintenance, not repair, and it’s the single best thing a homeowner can do without a technician.
- Clearing debris from a slide gate track. Dirt, leaves, small rocks, the occasional flattened soda can: these collect in the V-track and make the gate grind. Sweeping or hosing it out is completely safe.
- Replacing surface-mounted accessories. A keypad cover, a reflector on the gate edge, a broken latch handle that bolts on from the outside. These are cosmetic or low-risk mechanical swaps.
- Minor leveling adjustments on a manual gate. If the gate sags slightly and there’s an adjustable hinge, small turns with the right wrench can square it up. The key word is minor: if you’re chasing a half-inch droop that’s been there for years, that’s a hinge-and-post problem, not an adjustment problem.
Borderline DIY: The Yellow Zone
These are repairs a careful homeowner can attempt, but only if they understand the weight involved and have done the reading. The risk isn’t injury so much as making the problem worse and turning a $200 fix into an $800 one.
- Replacing a worn slide gate wheel or roller. The wheel itself is fine to swap, but the gate has to be lifted and supported safely first. A 12-foot steel slide gate can weigh 300 to 400 pounds. If it falls while the wheel is out, it can bend the rack, twist the frame, or crush a foot. A jack stand under the gate is non-negotiable.
- Adjusting a limit switch. On some electric operators, the limit switch is accessible and adjustable with a flathead screwdriver. The catch: if you set it wrong, the gate overtravels and slams into the stop, which damages the operator, the gate, or both. If the manual for your specific operator is still around, this can work. If not, leave it.
- Replacing a photo eye that’s surface-wired and clearly faulty. This walks the line. Some photo eyes are plug-and-play. Others are wired into a circuit with specific resistance values that the control board reads. If you can’t tell which one you have by looking at it, a technician should do it.
Not DIY: The Red Zone
- Any repair involving a gate spring, tension rod, or counterweight. Slide gates on Lynwood properties often use tension systems to assist the operator or balance a heavy manual leaf. These components store significant energy, and releasing it incorrectly is how people lose fingers, break bones, or take a gate carriage to the skull. This is not hyperbole: tension systems are the gate equivalent of a compressed garage door spring, and nobody should touch them without training.
- Any repair that requires wiring, even low-voltage wiring. The control board, the motor, the keypad, the loop detector, the photo eye: all of it connects back to line voltage somewhere, and all of it can fail in ways that short a board or start a fire if the splice is wrong. More on this below.
- Replacing or re-hanging a gate leaf. A swing gate leaf that’s come off its hinges, a slide gate that’s jumped the track: these aren’t repairs, they’re reinstallations. The weight alone makes it a two-person job at minimum, and doing it wrong leaves a gate that closes imperfectly, which means it fails on someone eventually.
- Any diagnostic work on an electric operator that isn’t in the manual. If the motor hums but the gate doesn’t move, or the gate opens but won’t close, or the remote works sometimes and not others: these are symptoms of control board, capacitor, or limit logic failures. Diagnosing them requires familiarity with the specific brand and model. Guessing is expensive.
In Lynwood, where many homes have long, narrow driveways and gates often serve as the only barrier between the street and the yard, the condition of the gate matters for daily security. A gate that half-works is a gate that gets manually forced open, and a gate that’s been manually forced too many times needs a lot more than a bolt tightening.
Why Electric Gate Wiring in California Is Never a DIY Project
Let’s be direct about this one, because it’s the point where most DIY advice gets vague and weaselly. The reason to stay out of your electric gate’s wiring isn’t some abstract “you might get hurt” warning. It’s that California’s electrical code, specifically the sections covering gate operators and outdoor branch circuits, imposes requirements that a homeowner wiring a gate by feel will almost certainly get wrong, and getting it wrong has consequences that go beyond the gate itself.
An electric gate operator draws power from your home’s electrical panel through a dedicated circuit. That circuit has to be properly sized for the operator’s amp draw, which varies by brand: a Mighty Mule on a residential swing gate pulls far less than a Viking or DoorKing operator on a commercial slide gate. The wiring must be run in conduit rated for outdoor exposure, with the correct gauge, on a GFCI-protected circuit, and the operator itself must be bonded and grounded per code. The safety edges and photo eyes are part of a supervised circuit: the control board is constantly checking that the wiring is intact, and if it’s not, the gate is supposed to fail safe, meaning it stops and reverses or refuses to run. A homeowner who splices in a photo eye with wire nuts and electrical tape has just bypassed that supervision. The board may not notice until the day the gate closes on a car, a kid, or a delivery truck.
Here’s the part most guides don’t mention: the consequence isn’t just a malfunctioning gate. A non-code wiring job on an outdoor circuit, if it causes a fire or an injury, is a liability you own personally. Your homeowner’s insurance can deny the claim. And if you sell the property, a home inspector who spots a DIY-wired gate operator will flag it, and the buyer will ask you to fix it on your dime or knock the repair cost off the price. In Lynwood’s competitive housing market, a flagged gate can cost you a deal or a few thousand dollars at closing.
None of this is a commentary on your skill. The issue is that electric gate systems from brands like Ghost Controls, Elite, and DoorKing are engineered around specific wiring topologies, resistance values, and control-logic assumptions. Getting them right requires a wiring diagram, a multimeter, and, honestly, having diagnosed a few hundred of them before. A technician who works on gates exclusively has that muscle memory. A homeowner with a YouTube video doesn’t, and the gap shows up as a fried control board, which runs $300 to $600 by itself.
Three DIY Repairs That Usually Make Things Worse
We’ve seen the same patterns enough times to describe them precisely. In our experience, there are three DIY gate repairs that lead to more professional calls than any others. Each one starts with good intentions and ends with a bigger invoice.
1. The Limit Switch “Adjustment” That Kills the Operator
Here’s the scenario: the gate stops a few inches short of fully closed, or it bangs into the post and rebounds. The homeowner finds the limit switch, gives it a little turn, maybe two, and now the gate doesn’t stop at all. It overtravels, jams against the stop, and the motor keeps pulling. Operators from brands like Viking and DoorKing are durable, but they aren’t designed to stall against a physical stop repeatedly. A gate that overtravels burns out the capacitor, strips the gearbox, or bends the drive arm. The $10 adjustment becomes a $400 motor replacement.
The issue is that limit switches are set relative to the operator’s internal logic, not just physical position. Turning the screw changes both the stop point and the ramp-down behavior. Without knowing the correct sequence for that specific operator, you’re guessing, and the cost of a wrong guess is mechanical damage that doesn’t show up for a week.
2. The Wrong Lubricant on a Slide Gate Track
This sounds trivial, but it’s the most common self-inflicted wound. A homeowner notices the gate is grinding or moving slowly, so they grab whatever’s in the garage: WD-40, motor oil, axle grease. WD-40 is a solvent, not a lubricant, and it strips the existing coating while providing about three days of improvement before the grinding returns worse. Motor oil is too thin and flings off. Axle grease attracts dust and dirt, and in Lynwood’s dry climate, that dust mixes with the grease into a grinding paste that accelerates wear on the wheels and the track.
The right answer is a dry silicone spray or a white lithium grease, applied to the wheel bearings and the pivot points, not the track itself. We’ve seen slide gates where the track was coated in so much caked grease-and-dirt that the wheels couldn’t seat properly, and the whole gate had to be lifted and the track scraped clean before it would roll smoothly again. That’s a maintenance call that wouldn’t have been necessary with the right product.
3. The “Simple” Wiring Splice on a Photo Eye or Keypad
We covered the code issues above, but the mechanical failure pattern is worth naming separately. A homeowner cuts a damaged photo eye wire, strips both ends, twists them together, wraps it in tape, and the gate works. For a month. Then a Lynwood afternoon heat wave expands the copper, the tape loosens, moisture gets in, the splice corrodes, and now the photo eye shorts intermittently. The gate reverses for no reason, or worse, stops reversing when it should.
By the time we’re called, the splice is usually buried inside conduit or wrapped in enough tape that it takes longer to undo the homeowner’s fix than it would have to run new wire. In one common pattern, the failed splice pulls enough current through the board to take out a relay, and the repair goes from a $50 wire pull to a $250 board repair. The lesson: low-voltage doesn’t mean no-voltage risk, and outdoor splices need weatherproof connectors and proper strain relief, not hopeful twisting.
The True Cost of DIY vs. Professional for Five Common Repairs
Talking about gate repair costs in Lynwood requires some honesty about what things actually run. Prices vary by gate type, brand, and the condition of the surrounding hardware, but the ranges below reflect what homeowners should expect, assuming the gate is accessible and the repair is straightforward. The professional column is the cost of getting it right once. The failed DIY column includes the original DIY attempt, the parts bought, and the professional repair that eventually fixes the underlying issue.
| Repair | Typical Professional Cost | DIY Materials Cost | Failed DIY Total (Typical) |
|---|---|---|---|
| Loose or sagging hinge repair | $120 – $280 | $15 – $40 (bolts, shims) | $200 – $350 (if hinge or post gets damaged) |
| Worn slide gate wheel replacement | $150 – $350 | $30 – $80 (wheel, hardware) | $250 – $500 (if gate falls or track bends) |
| Photo eye misalignment or failure | $100 – $250 | $40 – $90 (replacement eye) | $200 – $400 (if board is damaged by wiring) |
| Control board replacement | $300 – $600 (part and labor) | $150 – $350 (board only) | $450 – $800 (wrong board, damaged wiring, or misdiagnosis) |
| Operator motor replacement | $400 – $900 (depending on brand) | $250 – $600 (motor only) | $600 – $1,100 (incorrect torque settings or mount damage) |
The pattern matters more than the numbers. In the green-zone repairs, DIY saves real money: a hinge tightening that would cost $150 professionally costs $15 in parts and an afternoon. But the moment a repair wanders into the yellow or red zone, the math flips. A control board that’s $450 to replace professionally becomes $800 if it’s first misdiagnosed and mismatched, and the extra cost doesn’t buy you anything except the lesson.
There’s also the time cost, which is real in Lynwood where many homeowners are commuting to jobs across the LA basin. A professional gate repair is usually scheduled, done in an afternoon, and handled while you’re at work. A DIY repair that goes wrong eats your weekend, then your Monday, then a Tuesday call to a technician who’s now fixing both the original problem and your attempt at it. The written estimate you get before any professional work starts also means the price is set and agreed, so there’s no surprise at the end. That’s worth something in itself.
DIY Maintenance That Actually Reduces Professional Repair Frequency
There’s a middle path between “never touch it” and “take the whole thing apart,” and it’s the most useful zone for a homeowner who wants to keep their gate running without spending money on technicians every few months. The maintenance tasks below are all green-zone work. They don’t require opening the operator housing, touching the wiring, or releasing any tension. What they do require is a little regularity.
Here’s the thing: the majority of gate failures in Lynwood aren’t sudden. They’re the endpoint of a slow decline that a homeowner could have interrupted months earlier. A gate that’s slightly harder to push is working harder. A wheel that’s wearing unevenly is putting side load on the track. A hinge that’s loosened an eighth of an inch lets the gate leaf sag, which changes the geometry of the whole system, which makes the operator work harder to open and close it. The motor, the board, the gearbox: they’re all downstream of the mechanical basics.
A Quarterly Maintenance Routine (30 Minutes)
- Visually inspect all hinge bolts, bracket bolts, and track fasteners. Look for rust, movement, or missing hardware. Tighten anything that’s loose, but don’t go past snug: you’re not trying to crush a stripped thread.
- Clean the slide gate track if you have one. Sweep out the accumulated dirt, check for pebbles or metal shavings that indicate a wheel is wearing. If the wheels leave visible metal dust, that’s a sign the wheel is shot, not just dirty.
- Apply a dry silicone or lithium-based lubricant to hinge pins and wheel bearings. Nothing on the track itself. A little on the pivot points. Wipe off the excess so it doesn’t attract dust.
- Test the safety edges and photo eyes with a glove or a piece of cardboard. Wave it in front of the photo eye: the gate should stop and reverse. Push the safety edge: same. If either one fails, that’s not a DIY repair, but catching it early is.
- Listen. Open and close the gate manually if it has a manual mode, and listen for grinding, clicking, or squealing that wasn’t there last quarter. A new noise is the earliest warning sign of a bearing, hinge, or wheel problem.
This routine takes less than half an hour, and it keeps the mechanical side of the gate in a state where the electric side doesn’t have to compensate. Think of it as the difference between changing your oil and rebuilding your engine. One keeps you out of the mechanic’s bay; the other puts you in it.
How to Approach a DIY Gate Repair Without Making It Worse
If you’ve read this far and you’re holding a wrench and eyeing a loose hinge, here’s the condensed version of how to do the green-zone work without drifting into the red zone.
- Identify the exact component that’s failed. Not “the gate is messed up,” but “the lower hinge on the left leaf has 1/8 inch of play.” Precision in diagnosis is the difference between a job you can finish and one that spirals.
- Check whether any stored energy is involved. If the part touches a spring, a tension rod, a counterweight cable, or any wire: stop. That’s the line.
- Have the right tool before you start. A stripped bolt because you used the wrong size socket isn’t a gate repair anymore; it’s a damaged bracket. Taking the gate apart and finding you don’t have a replacement part means a trip to the hardware store with the gate half-assembled.
- Use a helper for anything heavier than 50 pounds. Gate leaves, even small ones, are awkward. They rotate, they swing, and they’re designed to move, not to be held still. A second set of hands prevents most of the bad outcomes in the yellow zone.
- Set a stop-loss limit before you start. If you’ve spent two hours and the gate isn’t fixed, or you’ve discovered an additional issue, or you’re about to improvise a tool or a part: call it. The gate repair professionals at Gate Repair Lynwood have seen every variation of this situation, and a call at hour two is cheaper than a call at hour six, after the improvisation.
We’ve also put together a more detailed guide on what gate repair actually involves when a technician does it, which is useful reading if you’re trying to figure out whether your specific issue is in the green or red zone. And if the problem is clearly electrical, our electric gate repair page walks through the diagnostic process we follow for operators and control systems.
Common Mistakes to Avoid
- Assuming all lubricants are interchangeable. They aren’t, and in Lynwood’s dry, dusty conditions, the wrong one compounds quickly. Use dry silicone or white lithium on pivots and bearings; never grease the track or the rack.
- Adjusting the limit switch without the operator’s manual. Every brand has its own calibration sequence. Without the manual, you’re guessing, and a limit switch guess often turns into an overtravel failure that damages the drive.
- Treating low-voltage wiring as safe to splice casually. It’s low voltage, yes, but it’s also a supervised circuit feeding a control board that costs hundreds. A corroded or loose splice fails in ways that damage the board and can disable a safety edge or photo eye without any visible warning.
- Propping up a slide gate with a cinder block or a 2×4 while replacing a wheel. The gate is heavier than the block, the block is not stable, and the resulting fall bends the rack, the track, or whatever body part is underneath. Use a proper jack stand and a helper.
- Ignoring a gate that’s getting harder to move manually. Resistance is the earliest and cheapest-to-fix symptom. By the time the motor starts struggling or the gate starts slamming, the damage has moved from the mechanical layer into the electric layer, where it costs more.
- Buying a replacement part by matching it to a photo rather than the model number. Gate operators from different production years, even within the same brand, often have different control boards, different capacitor values, and different mounting dimensions. A “looks identical” part from an online seller is frequently not identical in the ways that matter.
- Assuming a gate that half-works is fine for now. A gate that opens slowly, or stops short, or reverses unexpectedly is sending you a signal. Ignoring it turns a $200 repair into a $600 one. In Lynwood, where a driveway gate is often the only barrier between a home and street traffic, a half-working gate is also a security issue, not just a convenience one.
When to Call a Professional
The list of situations where you should stop and call is actually pretty short, and it’s worth memorizing. If the gate has any electric operator involvement and you can hear the motor running but the gate isn’t moving, or it smells like burnt electrical, or the breaker has tripped more than once, that’s a motor, capacitor, or wiring issue and it’s not a DIY project. If the gate has a spring, tension rod, or counterweight anywhere in the mechanism and the problem involves that component, do not touch it. If a slide gate has jumped its track or a swing gate has dropped off a hinge, the weight involved is beyond safe solo handling. If a safety edge or photo eye is failing, that’s a liability you want documented as professionally repaired. And if you’ve already attempted a repair and the gate is worse now, don’t make it worse still. Gate Repair Lynwood offers free estimates in Lynwood, and the price you’re quoted is the price you approve before work starts, not a number that changes after the fact. Call (855) 360-4375 and describe what’s happening. We answer 24/7. Fast dispatch from 7am to 7pm, Sunday through Friday.
Frequently Asked Questions
Replacing a gate operator involves disconnecting and reconnecting line voltage, low-voltage control wiring, safety edges, and photo eyes, along with setting torque limits, travel limits, and possibly programming remotes. In California, the wiring work should be done by someone who can do it to code, and the calibration is brand-specific. A DIY operator replacement that’s wired incorrectly can damage the new operator or create a safety hazard.
Typical professional gate repair in Lynwood ranges from about $120 for simple hinge or hardware fixes to $900 or more for a full operator motor replacement, depending on the brand and the specific failure. The estimate you receive before work starts sets the price, so there’s no surprise at the end.
No. Gate springs, tension rods, and counterweight cables store significant energy, and releasing that energy incorrectly can cause serious injury. Any repair that involves those components should be handled by a trained technician with the right tools and the right process.
The most common mistake is using the wrong lubricant on a slide gate track, which attracts dust and creates a grinding paste that accelerates wheel and track wear. The dry climate in Lynwood makes this especially pronounced, since dust is a constant presence.
A quick test: disengage the operator using the manual release, if your model has one, and try to move the gate by hand. If it moves easily and smoothly, the issue is likely electrical: operator, control board, sensors, or wiring. If it’s hard to move, grinding, or binding, the problem is mechanical: hinges, wheels, track, or the gate frame itself.
We work on gate systems from LiftMaster, FAAC, BFT, Linear, Viking, Ghost Controls, DoorKing, Elite, and Mighty Mule. Whether it’s a Mighty Mule on a driveway or a FAAC system at a commercial entrance, we’ve worked on your brand. Call (855) 360-4375 for a free estimate.
The Bottom Line
The DIY vs. professional decision on gate repair comes down to a simple question: what happens if this goes wrong? For bolts, hinges, lubrication, and track cleaning, the consequences are low and the savings are real. For wiring, springs, tension systems, and heavy gate leaves, the consequences are injury, fire, or a repair bill that’s double what it would have been if you’d called first. In Lynwood, a gate is working equipment and a security barrier, and it deserves to be treated like both. If the repair looks green, do it carefully. If it looks yellow or red, call someone who does this every day. The estimate is free, the price is set before work begins, and the gate goes back to doing its job. Call (855) 360-4375. We answer 24/7. Fast dispatch from 7am to 7pm, Sunday through Friday.
Written by the team at Gate Repair Lynwood, serving Lynwood since 2011.
See the difference
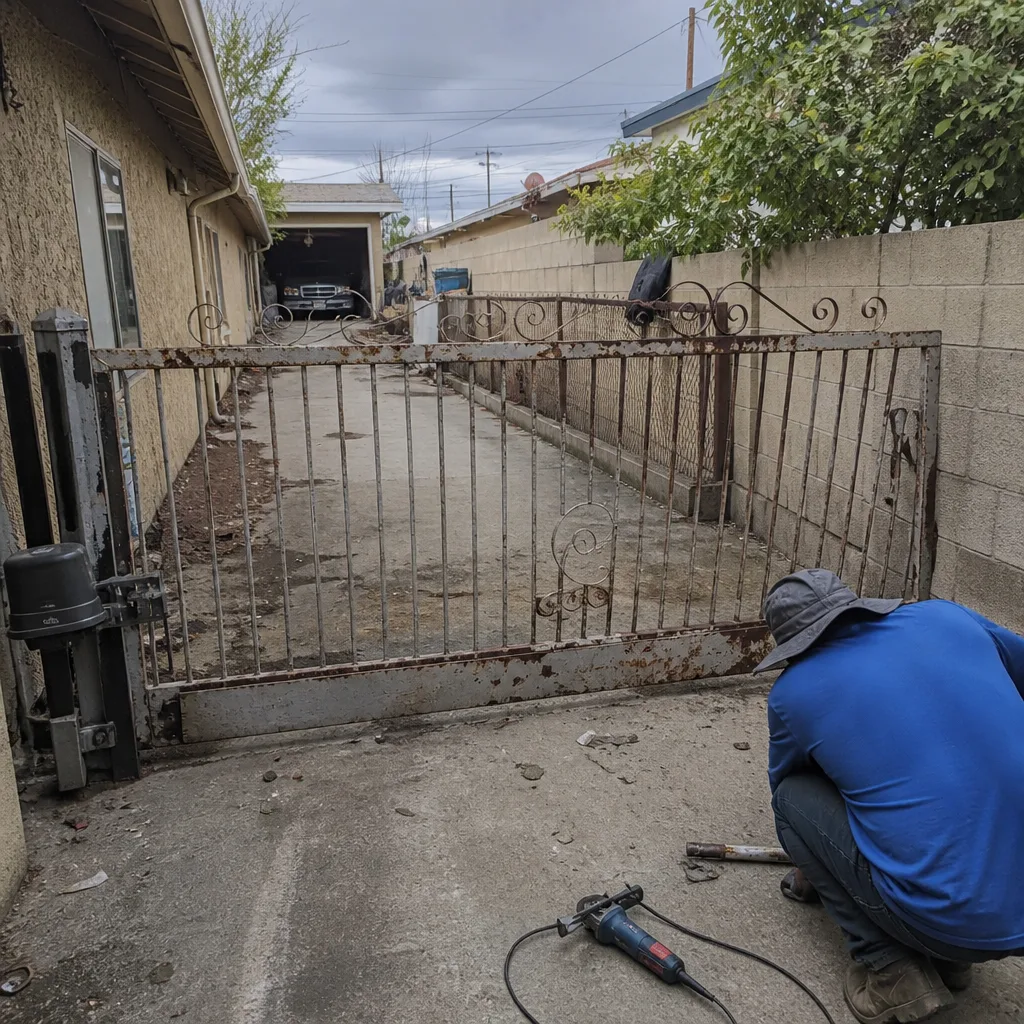 Before
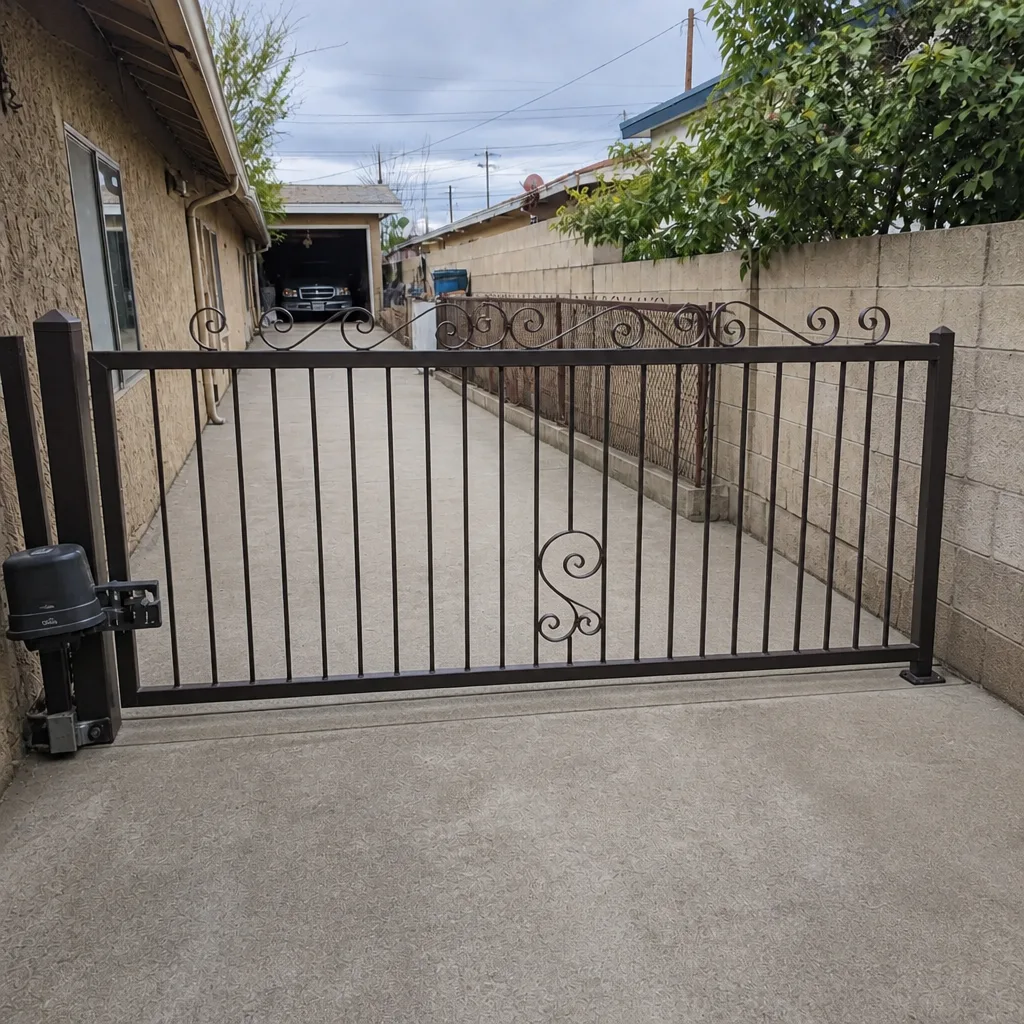 After
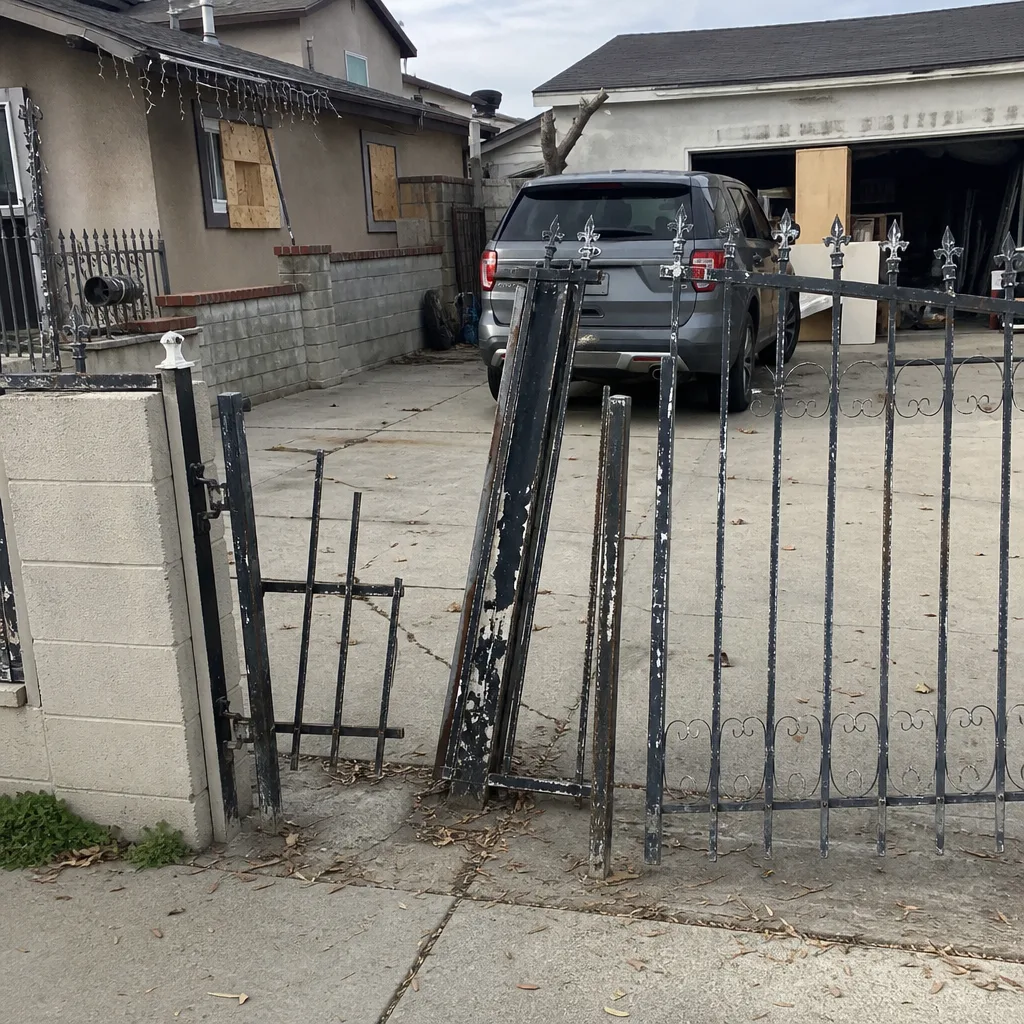 Before
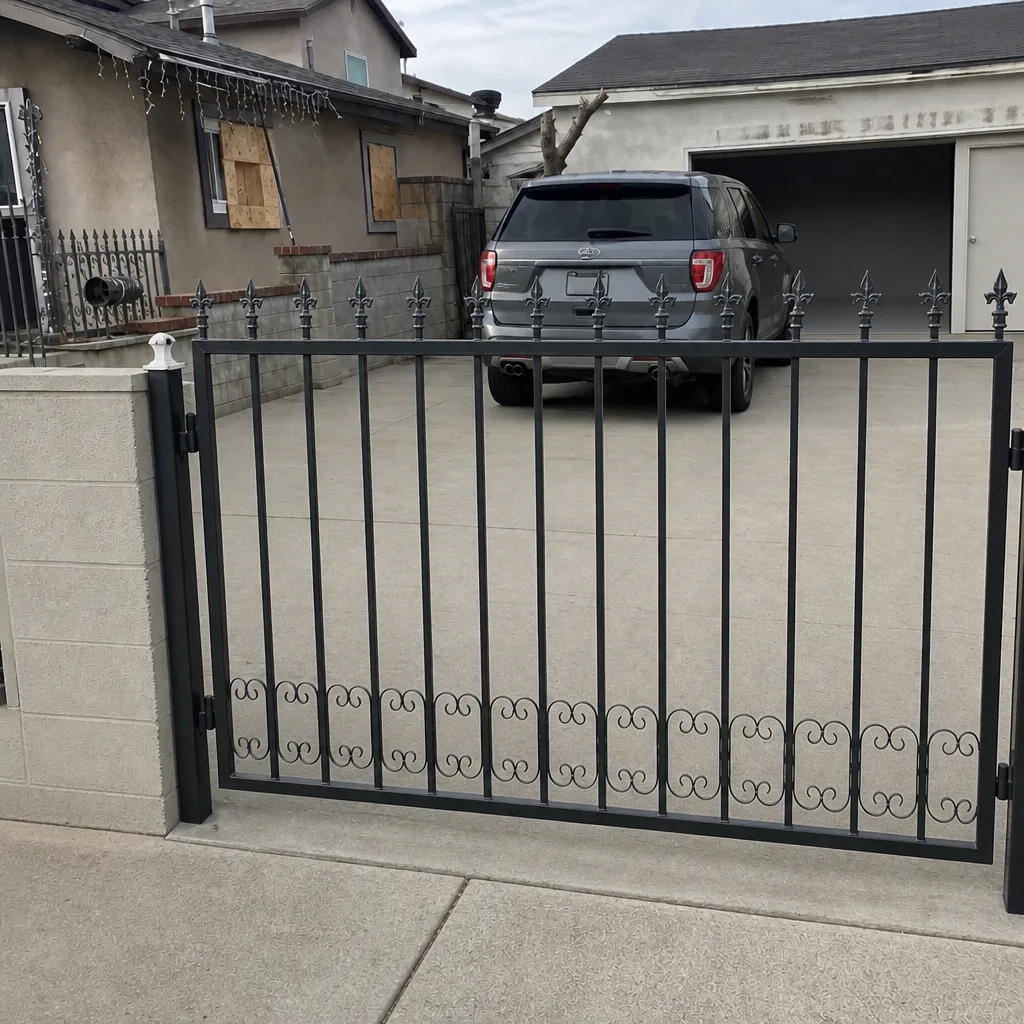 After
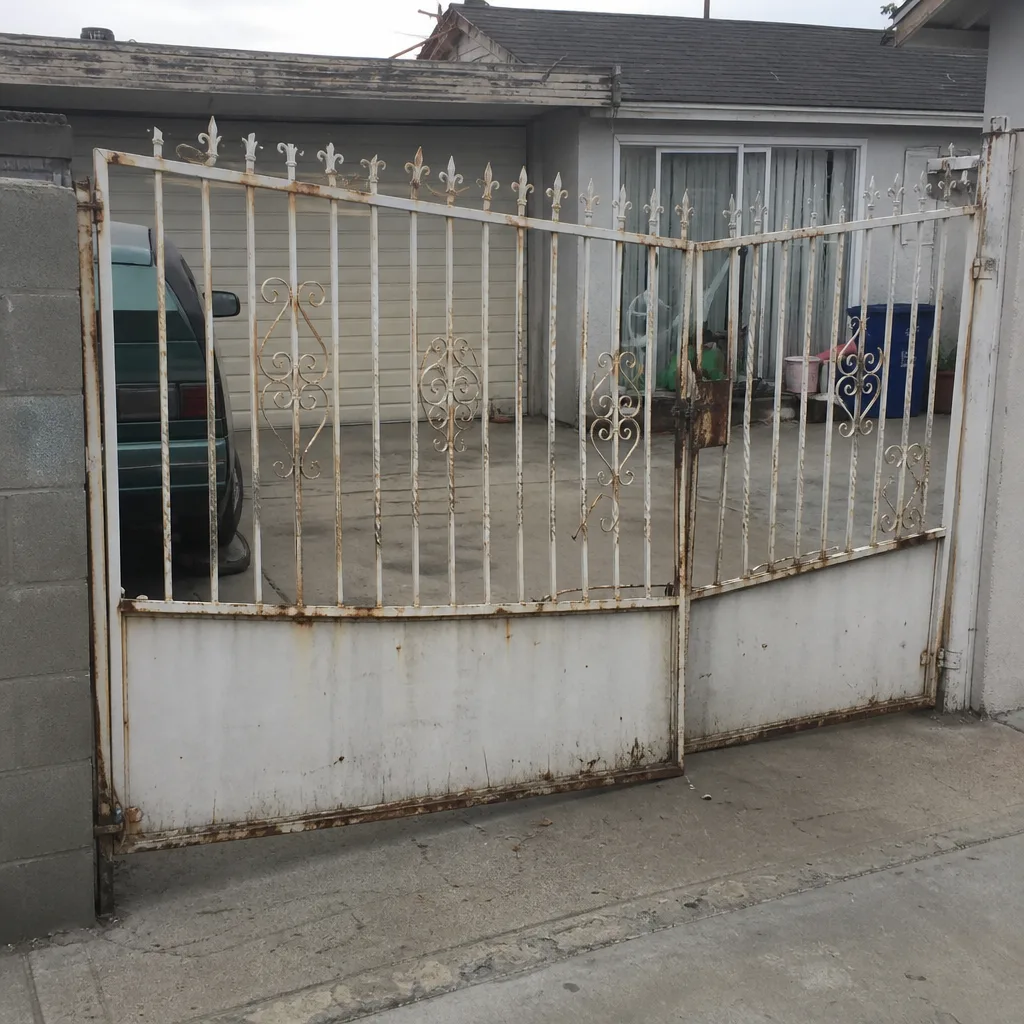 Before
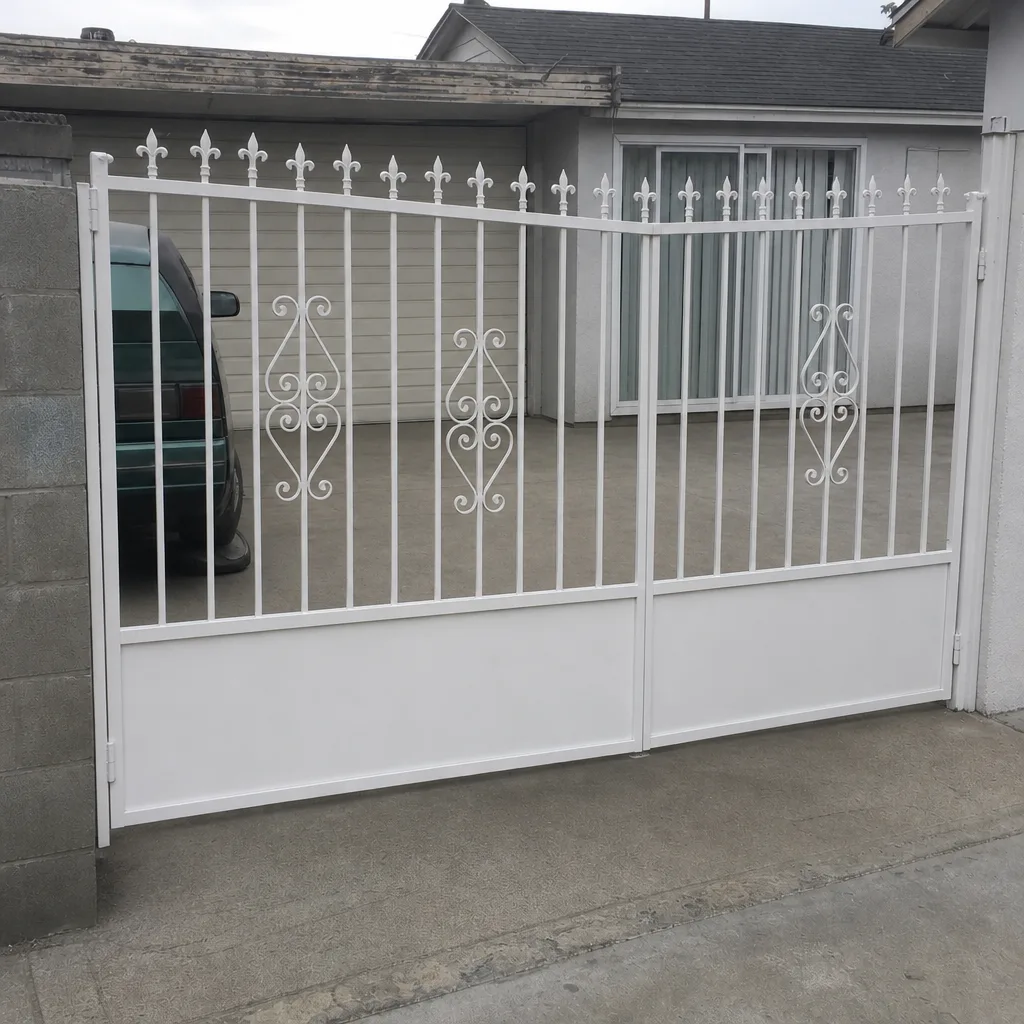 After